 Ingredients
Method
Comments
0 Comments
I know guys, it's been a whole year since I blogged and …... nada!
In the words of Wayne's World's Garth : I'll try harder, OK? Just give me a second chance. Just don't go and cancel me without giving me a second chance. Explanation? 2018 was a big year, I went back to work full time as an event manager with a two year old (suffered some pretty horrendous mum-guilt), plus I kept studying my Masters. To save shopping time after work (because we live in a small apartment and have to shop every couple of days due to a tiny fridge and a threenager who loves fresh milk) we've been ordering those Hello Fresh meals which have been going pretty great! Not having to decide what to cook three nights a week rocks! Take tonight for example, I finished work at 5pm, cooked dinner of this delicious fresh Chicken-Honey-Tahini-Glazed thing with Rice - sorry can't remember what it was called... and then watched Tennis with Husband, put child to bed, read a couple of readings for Uni, then thought I'd smash out this post because - well.... I'm not sleepy. Out of the Ord - WatermelonThis delicious watermelon sorbet is the perfect treat for a sunny dry-season day in the North of Australia. For those in winter temperatures, wow your dinner guests with an on theme homemade dessert following an Italian feast of pasta. 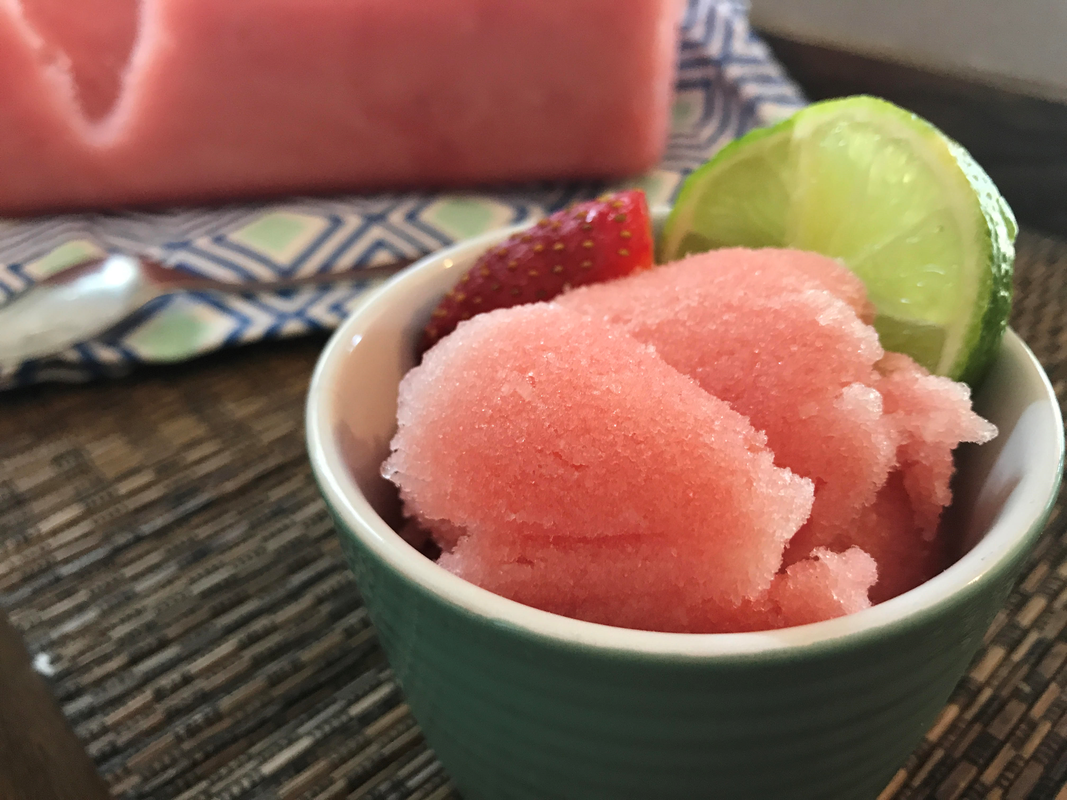 Allow approx. 15 hours to complete this recipe
Ingredients:
Method:
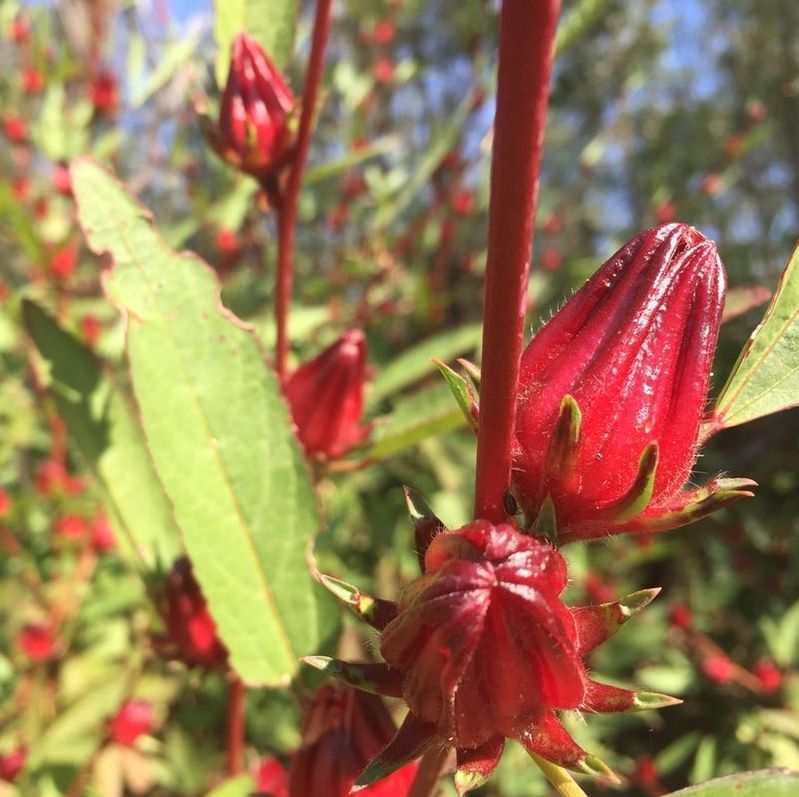
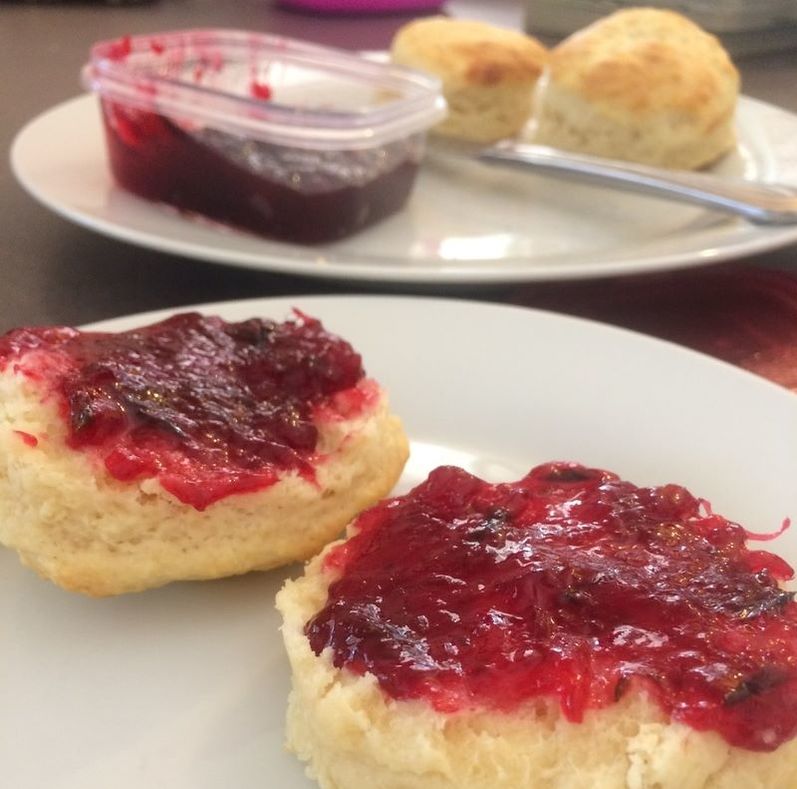
Recipe adapted from Taste website Out of the Ord - Rosella'sI've been practicing my jamming for the upcoming Ag Show here in Kununurra, and while I haven't perfected the sealing of the jars. I'm pretty happy with this rosella jam recipe which I'm happy to share. The perfect accompaniment to a freshly baked scone.
Ingredients:
Method:
The jam doesn't need to be refrigerated until the bottle is opened. It should keep unopened in the pantry for up to 12 months. Notes:
Out of the Ord - ChilliI made this meal over a week ago and have since been umming and ahhing about the quality (or lack there of) of my photograph, I was determined to make another dish using chilli this week but time got the better of me and this was really very yummy - so I apologies the photo it is definitely not of food porn quality but it is mouth-wateringly yummy! I adapted this recipe in a book from the library called 'Chillies, Great recipe Ideas with a classic ingredient' published in 2007 by Marshall Cavendish Cuisine. I highly recommend borrowing cookbooks from the library - there is some fabulous stuff in there, the Librarian Emma keeps a great selection on the shelves and new stuff is always arriving. Take note of the tips about preparing this to suit chillies 'not too hot' fans! 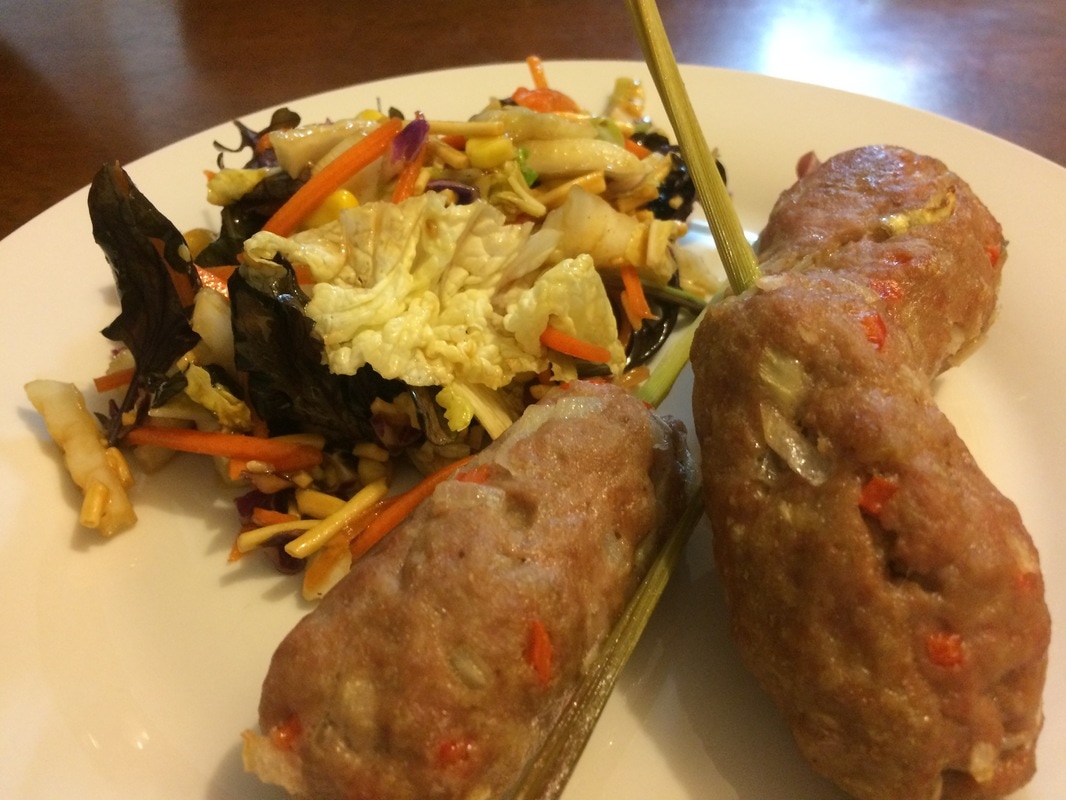 Ingredients:
Method:
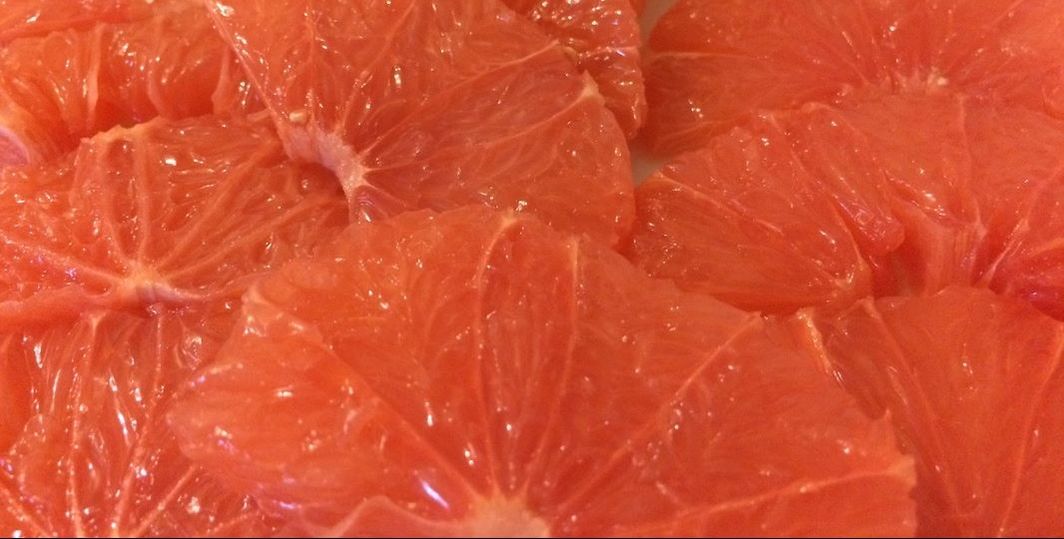
Notes: I was cooking this meal for the family so I left the seeds of the chilli out of the pork mixture, so that our 2-year-old could eat them too (take note parents – he loved them, I did not think he would…), anyway, I would recommend if you (like me) love the chilli, include the seeds in the pork mixture – otherwise, compromise and do what I did and make a dipping sauce using the chilli seeds and a selection of Asian sauces you have in the pantry. I used a sweet soy sauce, a small amount of brown vinegar and fish sauce with the chilli seeds mixed through which I thought was delicious! Out of the Ord - Red GrapefruitI made this meal for myself while I was bachelorette'n last night as the Hubs was out supporting the Blues in State of Origin. I know it's not a typical can't be stuffed meal that you're meant to make on such occasions but surprisingly this didn't take long at all. I even adapted it for the young'n - he ate quinoa, avo and chicken and had a freshly squeezed grapefruit juice to wash it down - yes I am aware that makes me one of those types - but I don't care, he's happy and I don't have to make two meals - moohaha!! Plus the look on his face when he squeezes the grapefruit using my super old school juicer is priceless - he claps himself after and everything.... Enjoy! 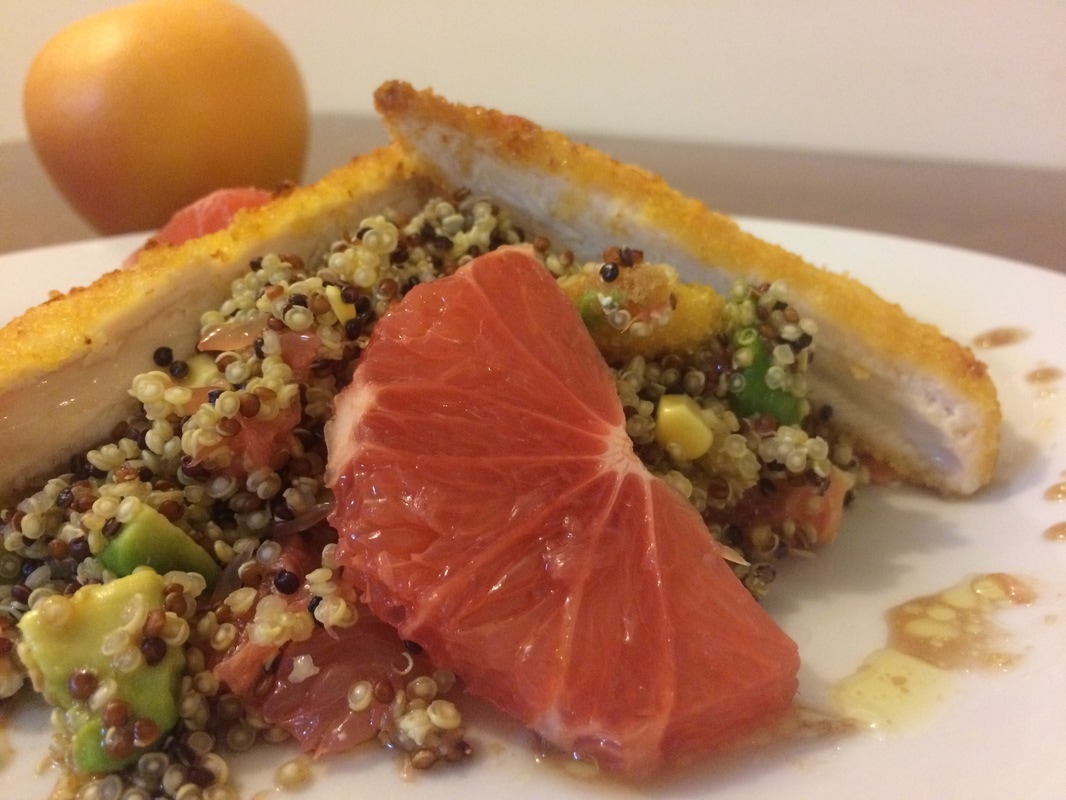 Right, this is going to be a loose recipe - I'll try and write up a recipe card later, but I'm running out of time this week. So come back later if you need exacts! Ingredients:
Method:
Notes:
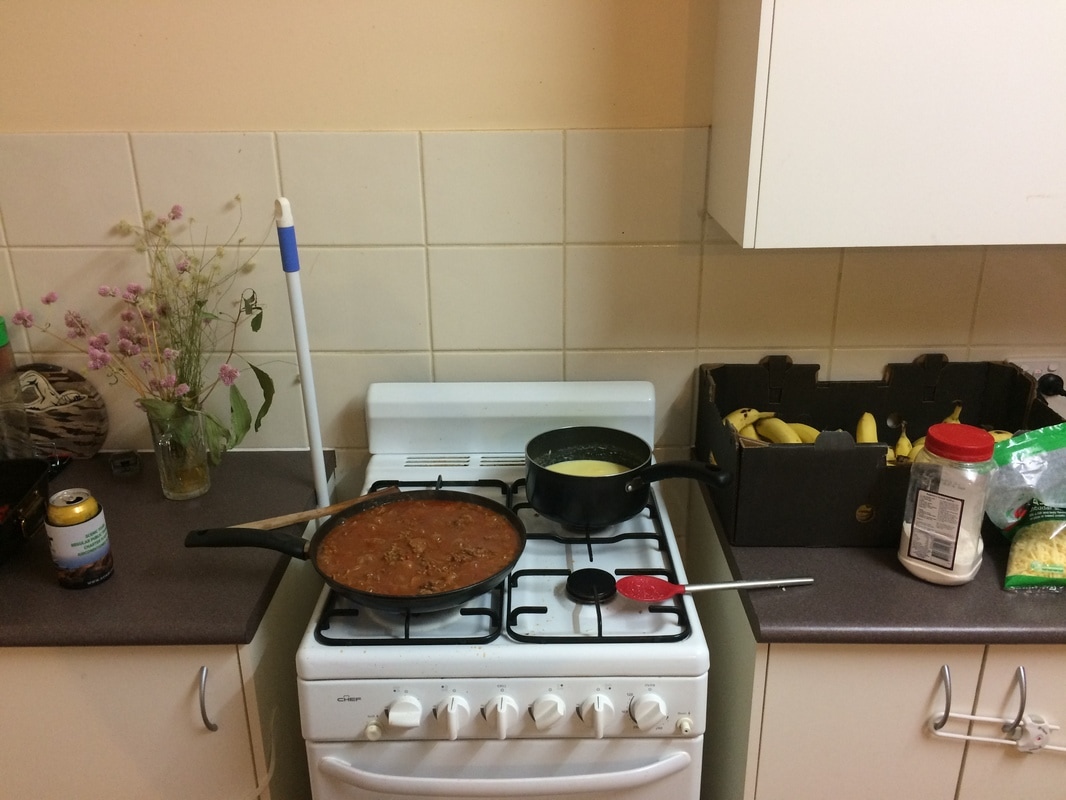
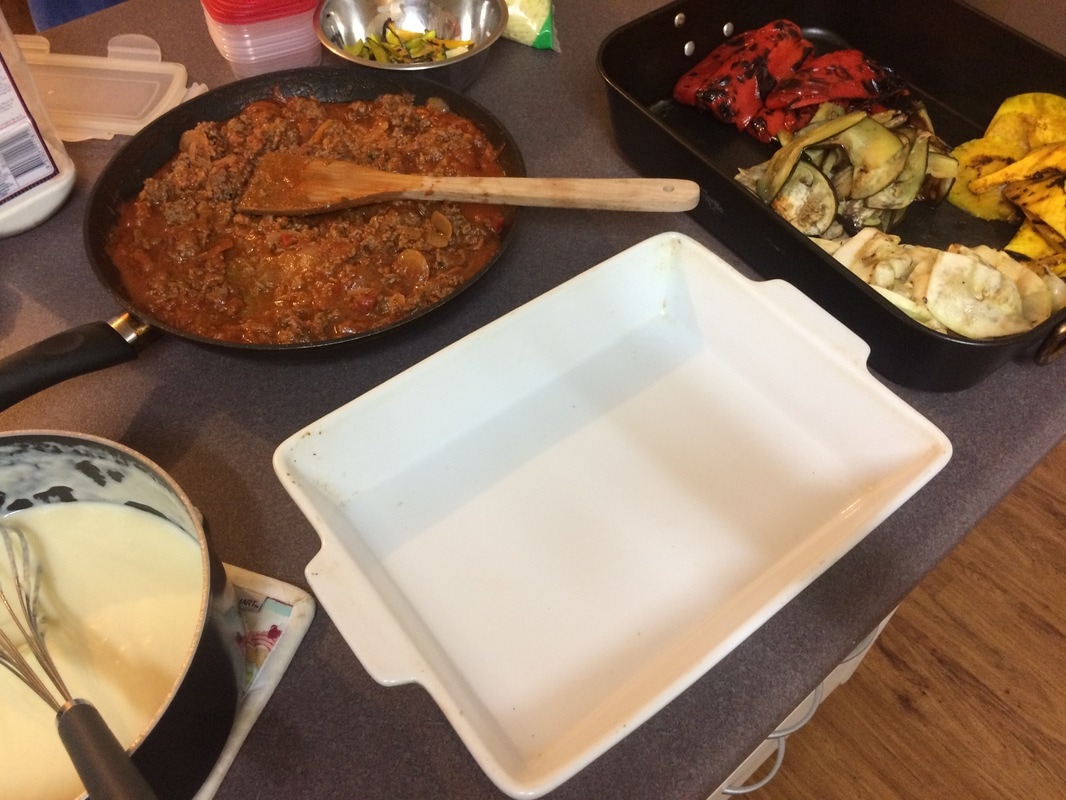
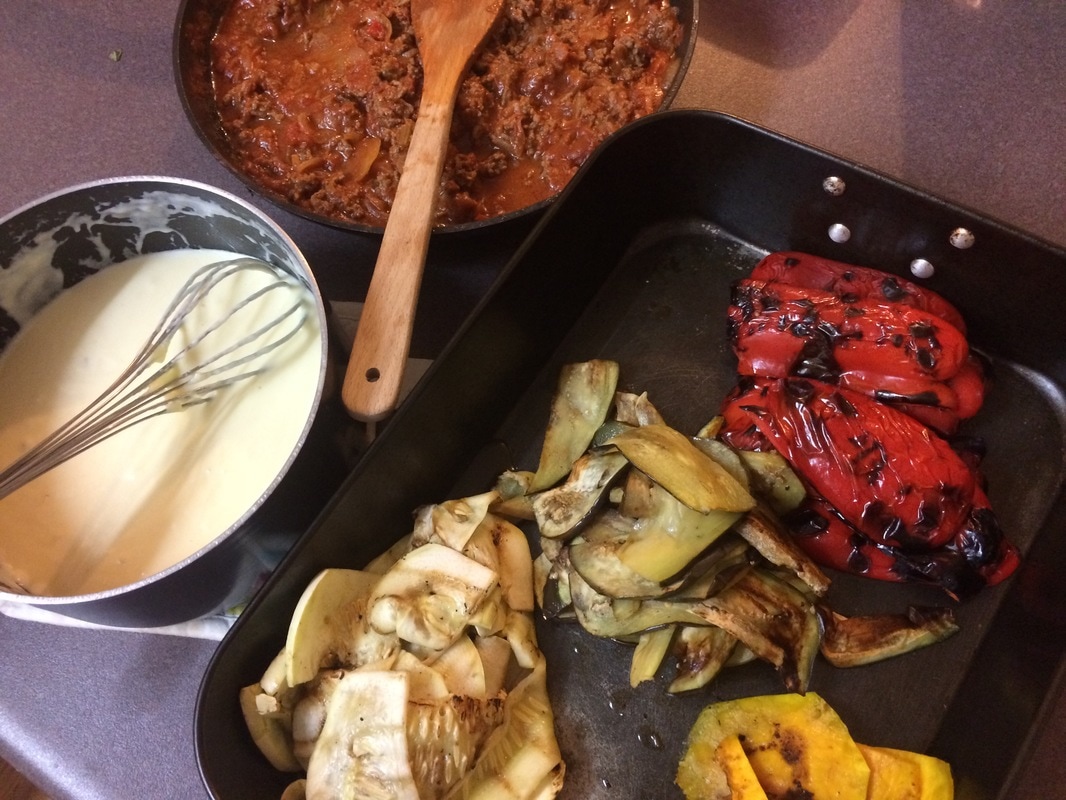
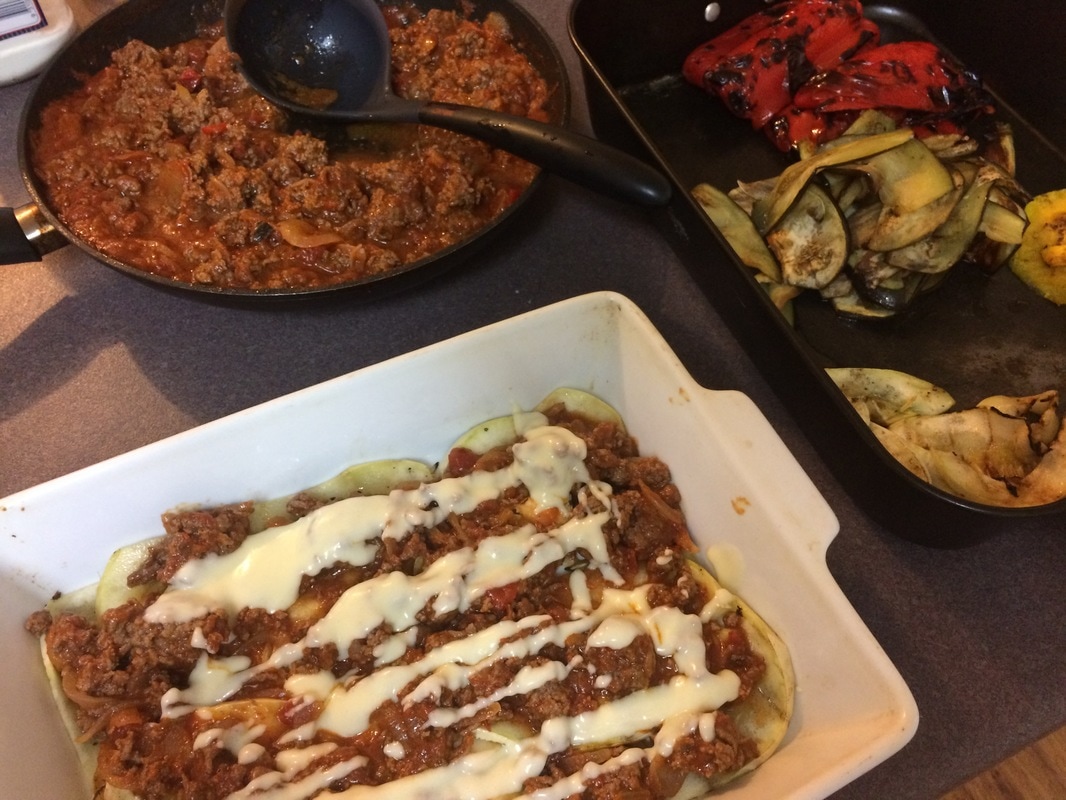
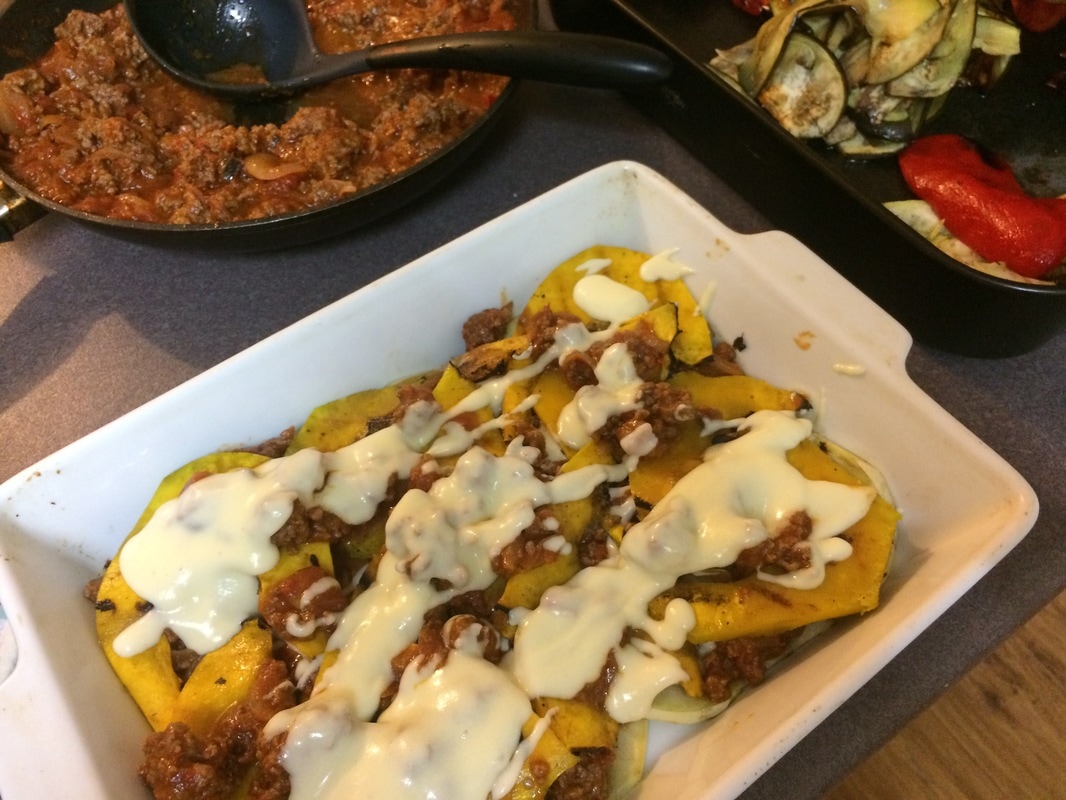
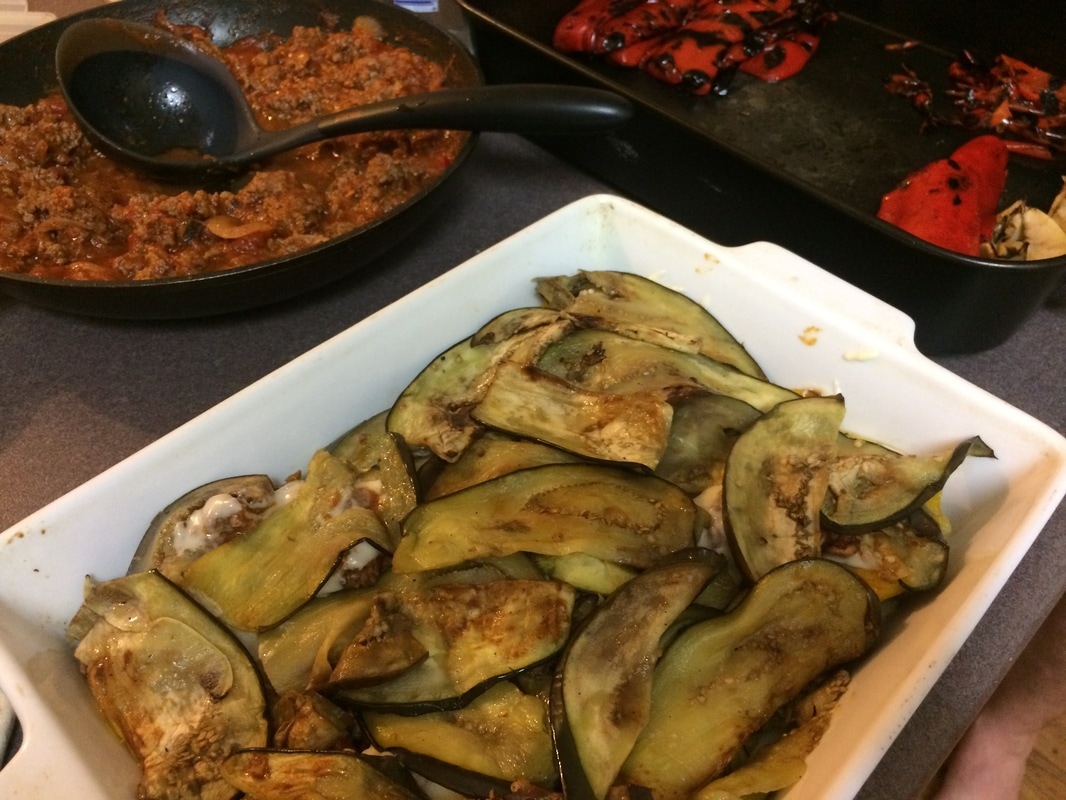
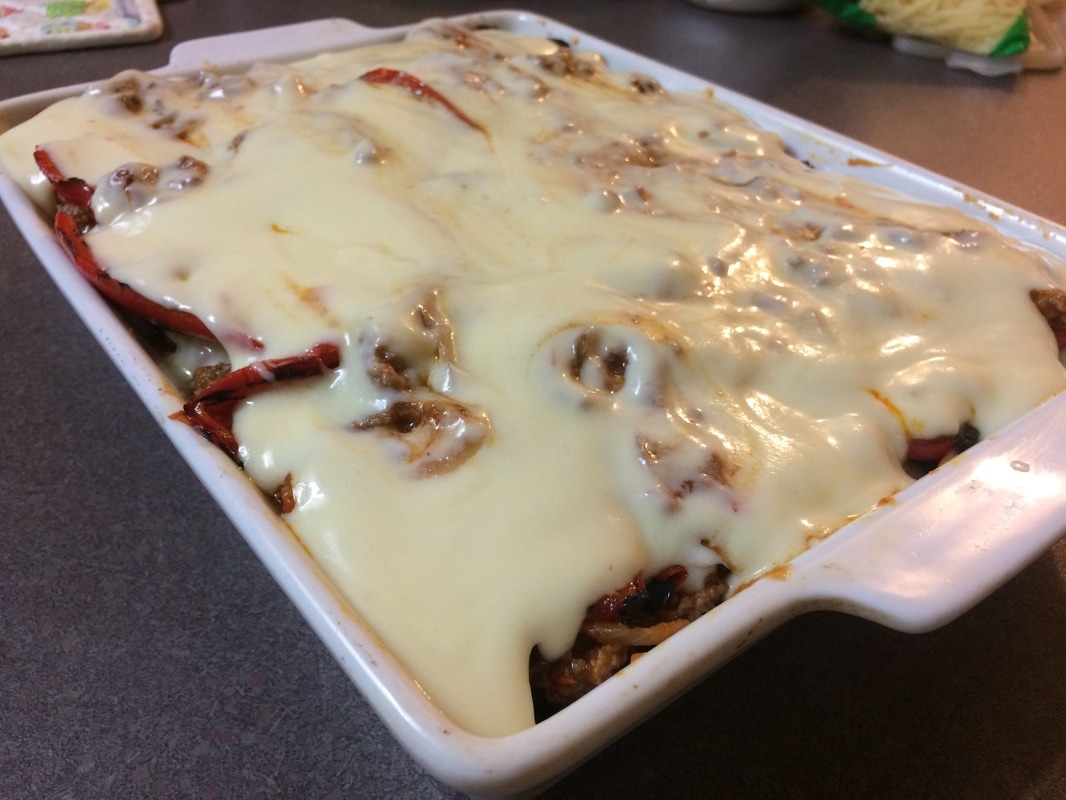
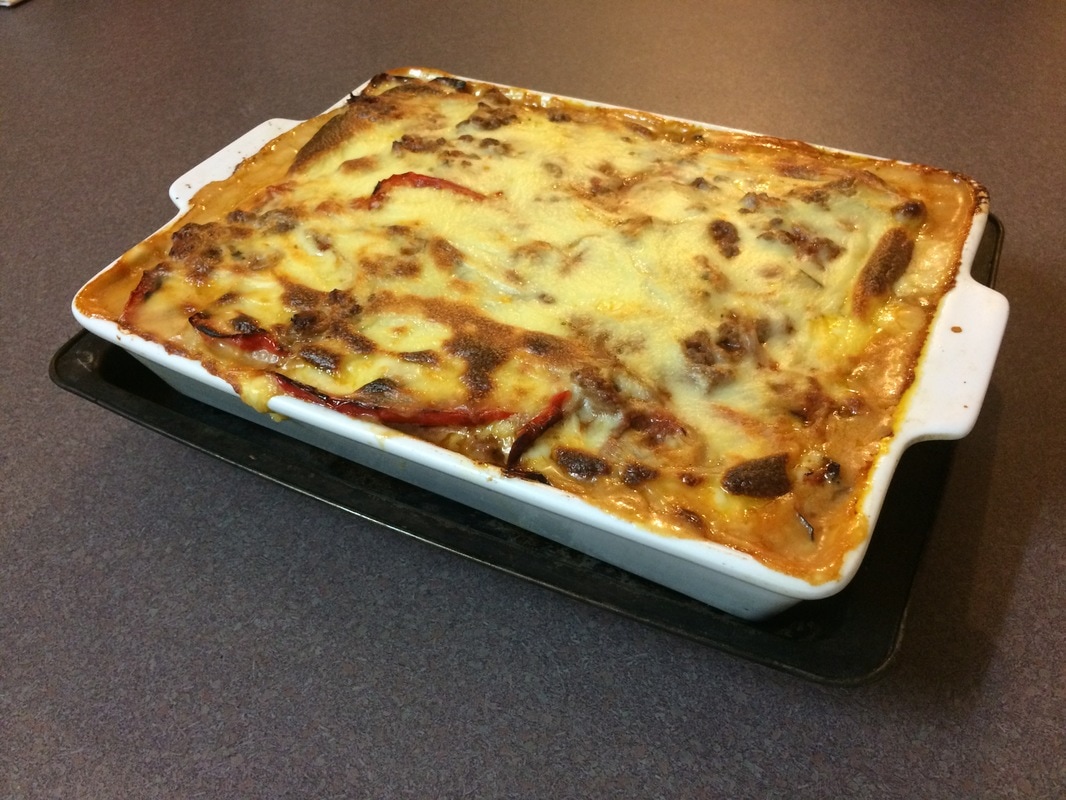
 Out of the Ord - EggplantHere is the last beef lasagne recipe you'll ever need, plenty of flavour, muchos protein using delicious vegetables as the 'pasta' layers. So depending on how heavy your cheese hand is this is one healthy and delicious dinner. This serving size is pretty big, it cuts out at about 8 portions, so you can freeze it or reduce the quantities as you see fit. You can swap any of the vegetables for pasta if that tickles your fancy - or only use one type if you prefer - for example there are so many eggplants in town at the moment you could use only eggplants - up to you :) I've included at the bottom of this post a series of images showing the layering, check it out. Peace Out! T-Bomb 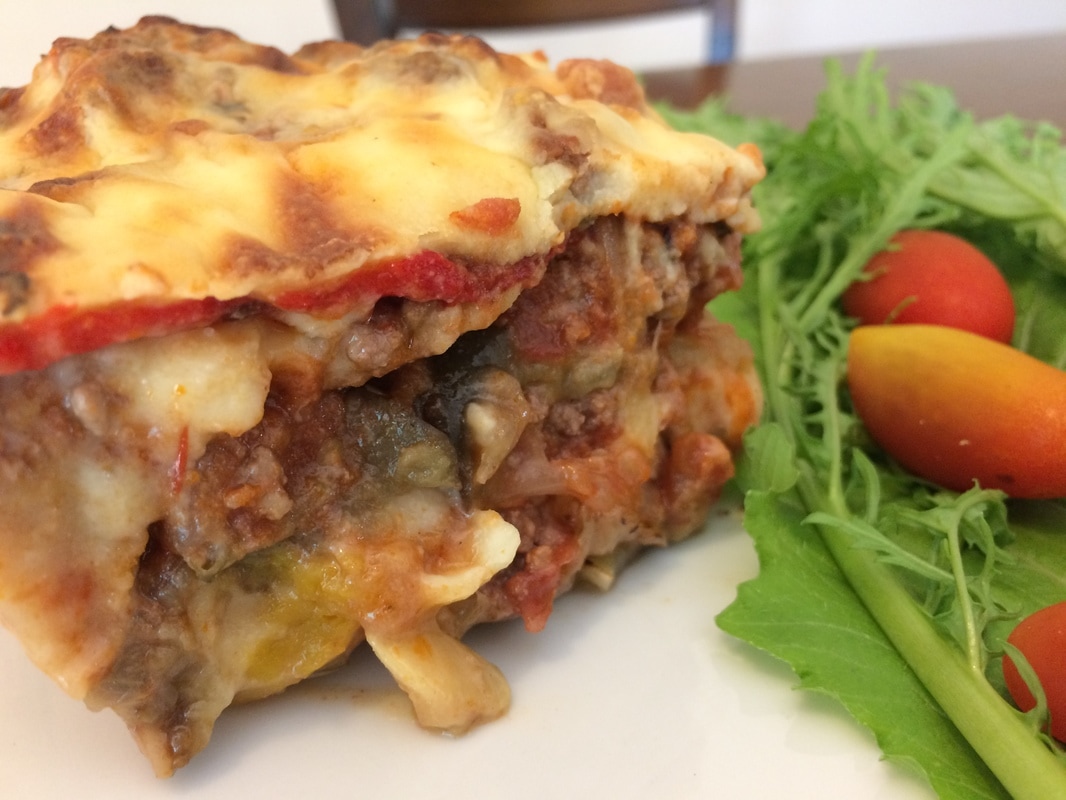 Ingredients: Meat Sauce
Out of the Ord - LemongrassEarlier this week I grilled up this chicken dish using lemongrass in the marinade. The tangy chicken is perfectly accompanied by a sweet honey dipping sauce for a mid-week winning combo! You can prepare the chicken ahead and leave to marinate in the fridge overnight - but lets be frank.... half the time I don't know what we're having for dinner until the afternoon, when I get to the shops after I've canvased the fridge for left-overs that has to be used #waronwaste. Happy Friday everyone! 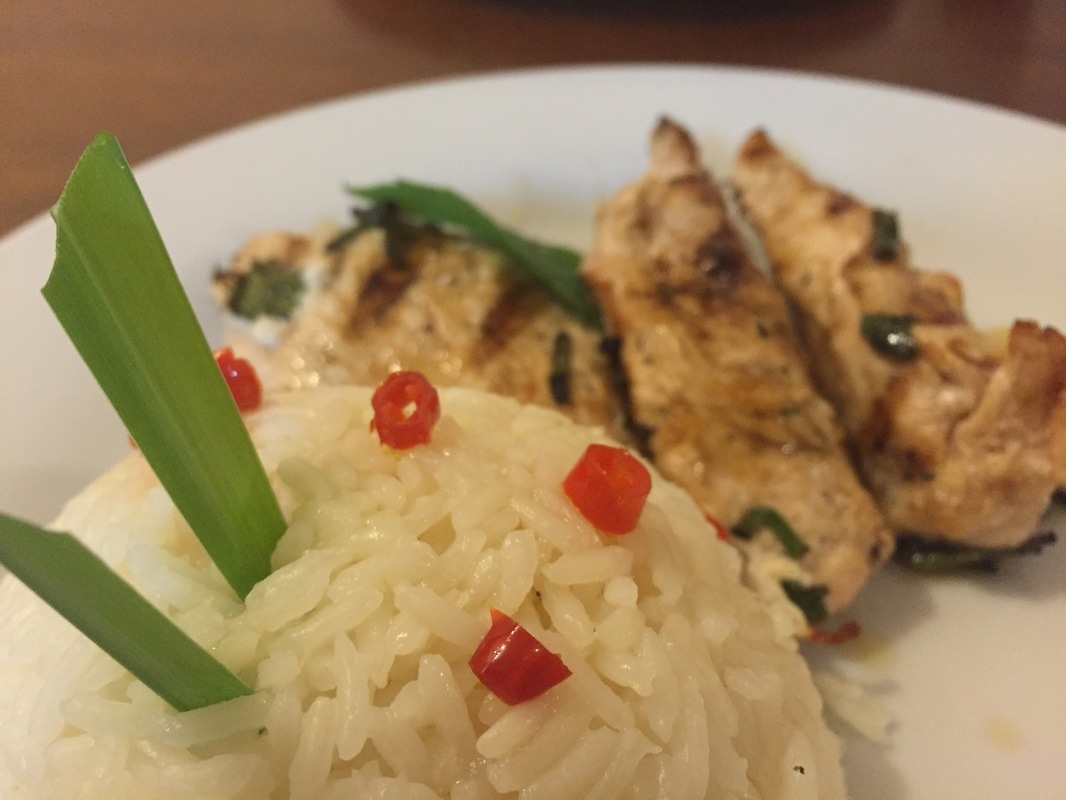 Ingredients:
Method:
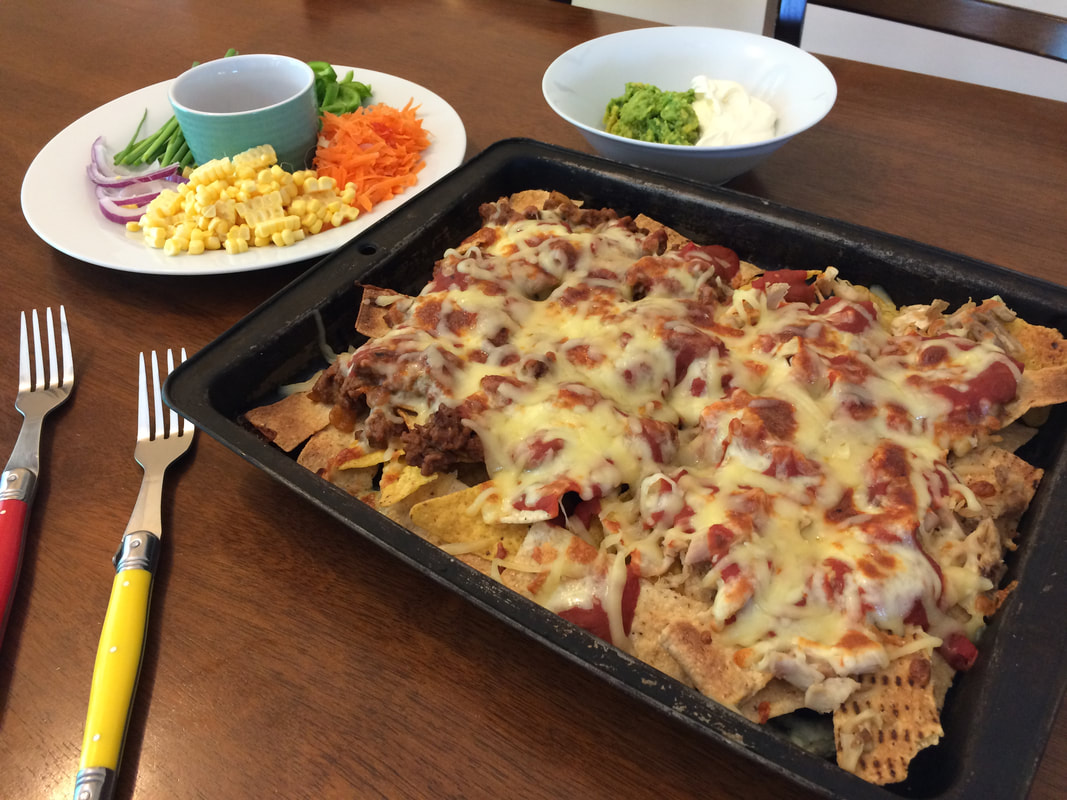
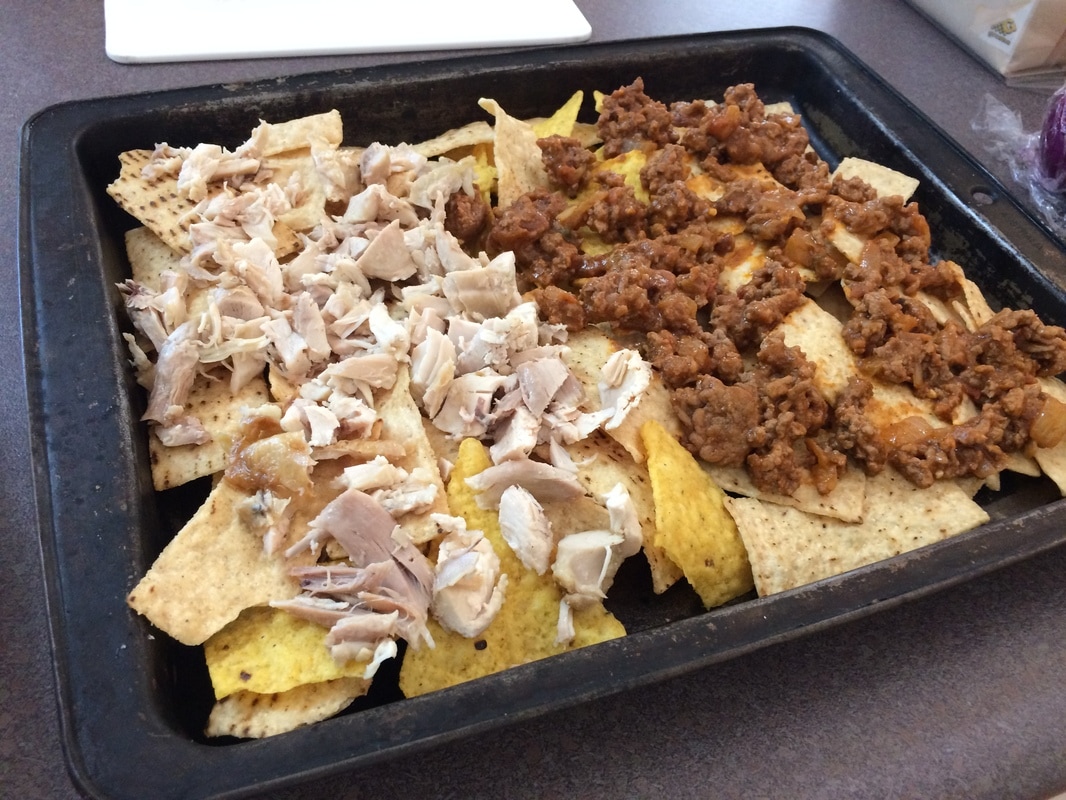
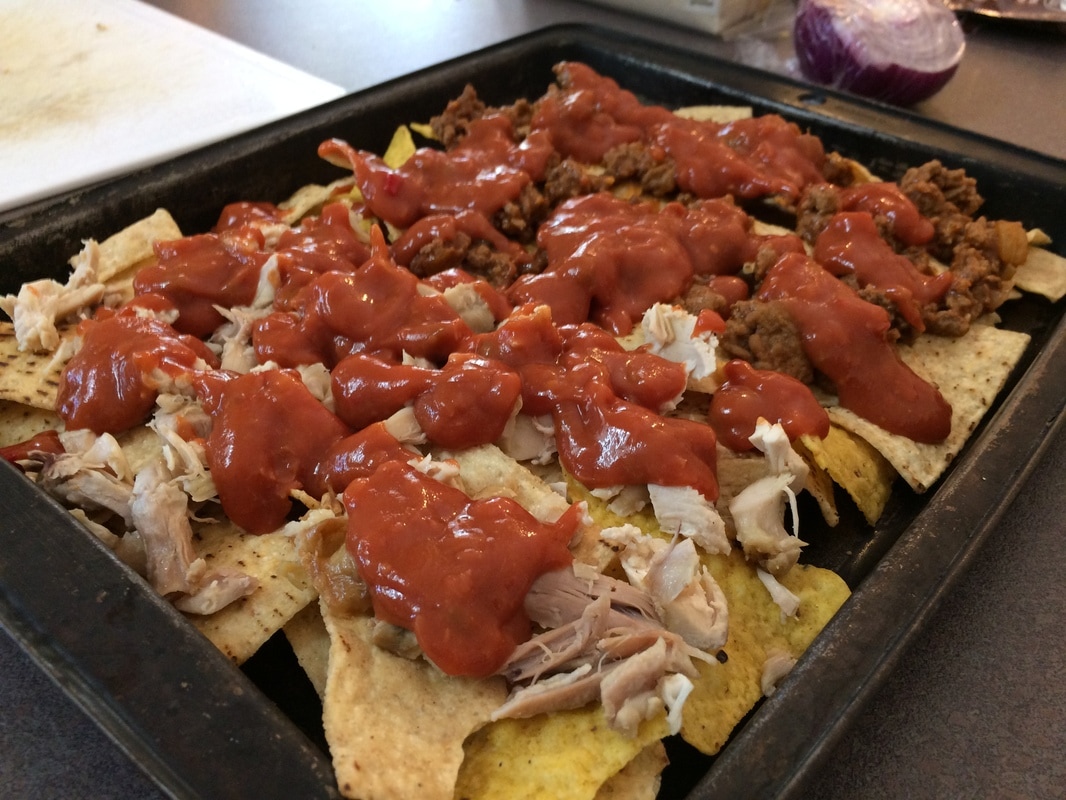
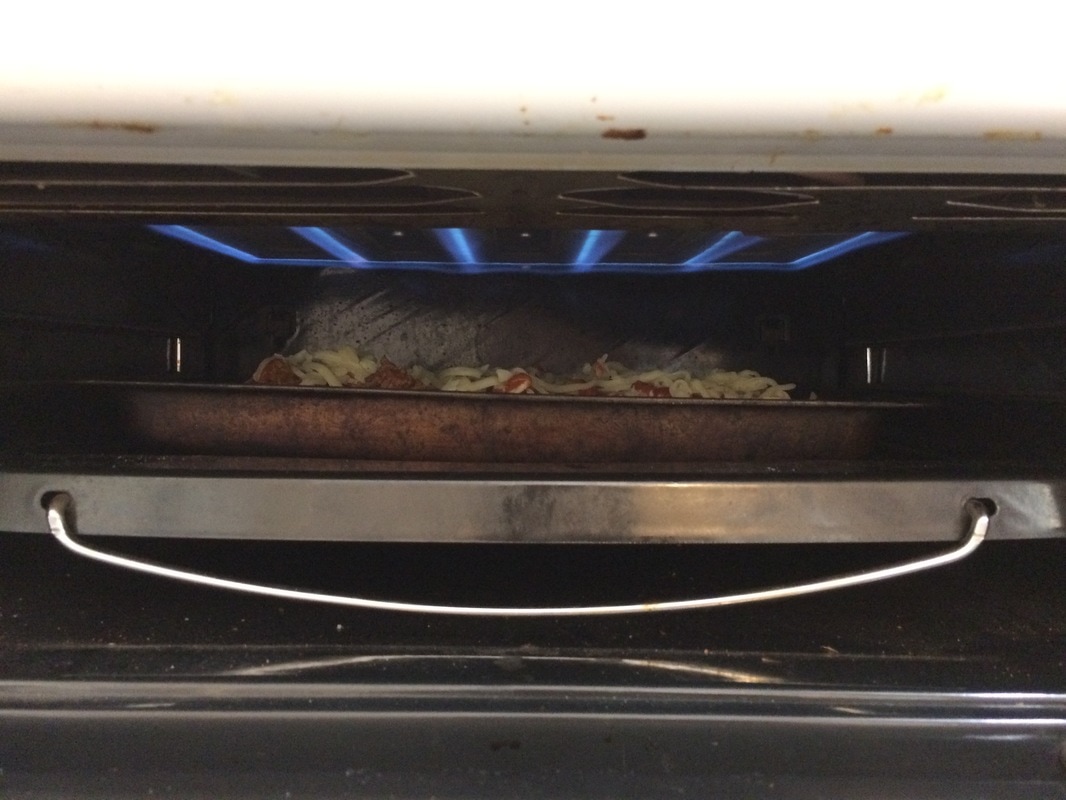
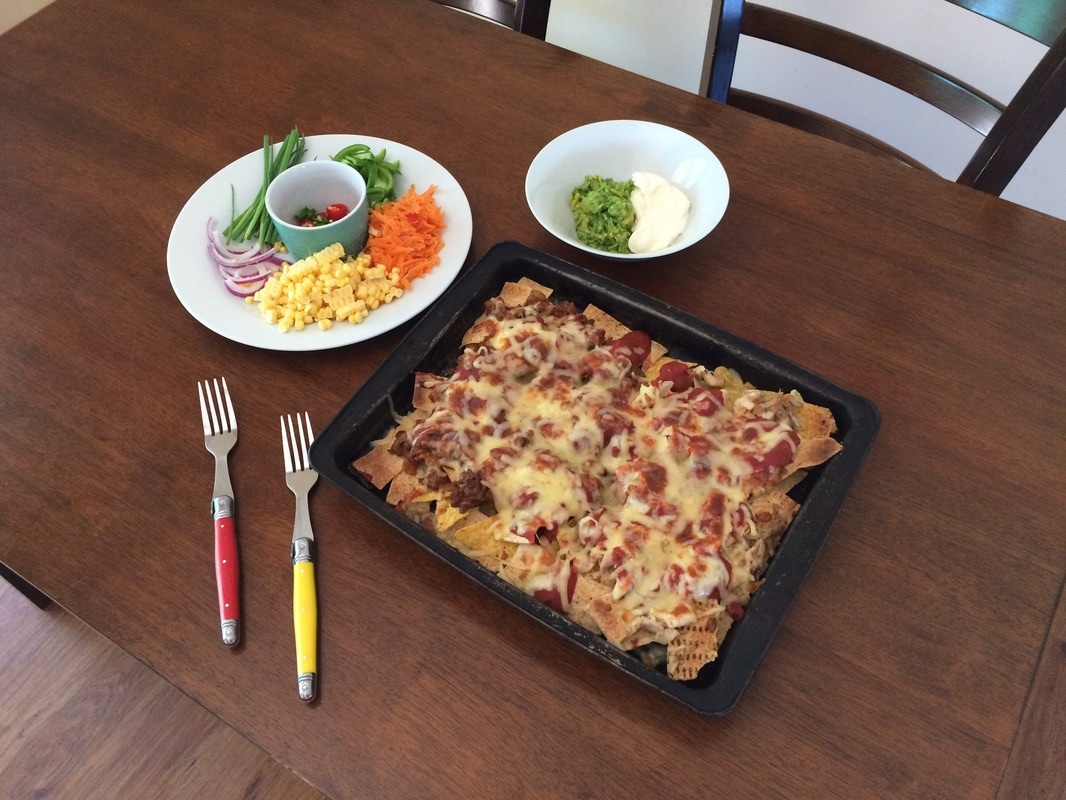
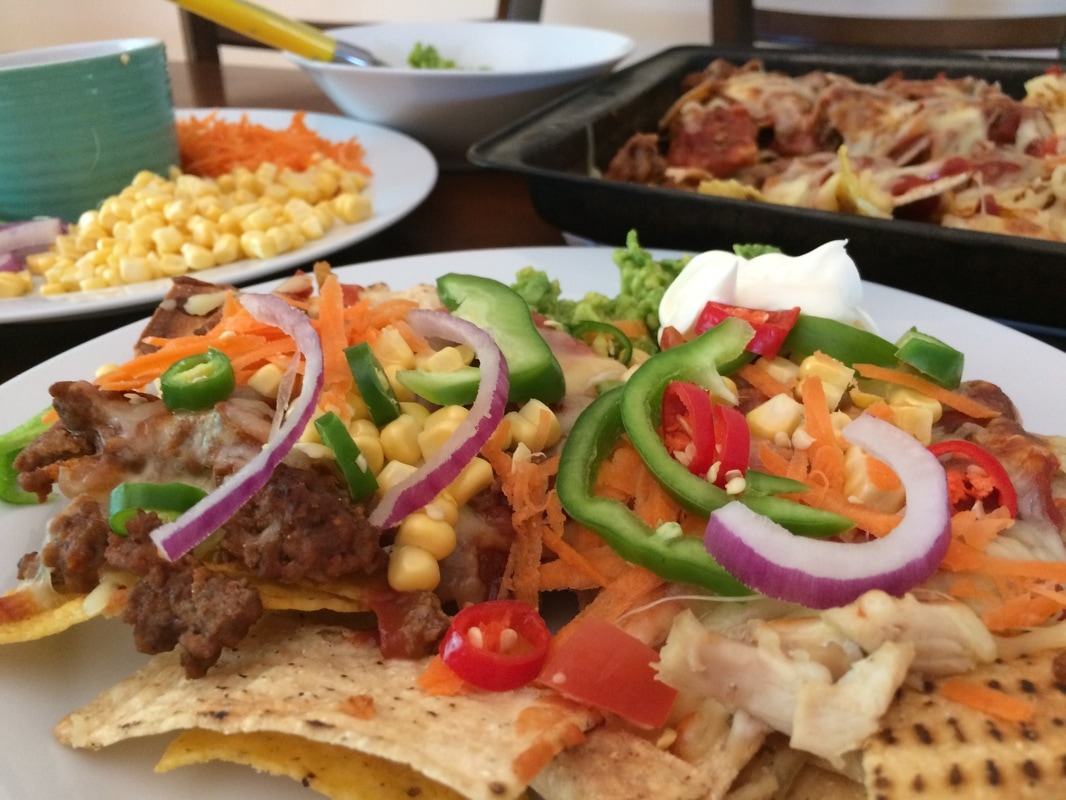
Adapted from Rasa Malaysia who adapted from Food & Wine. Find this version online: Here at the BBQbaker.com Out of the Ord - Maize = corn chipsIf you haven't been able to tell - I love serving up share platters of food with lots of fresh ingredients that are heavy on the protein! This dish came together for lunch this week using lots of local produce left over from my produce box (thanks again Rock Solid Produce), i.e. capsicums, chilli's and corn. That's my favourite thing about buying local, it stays fresh for so long! I have been purposely vague about the quantities of meat, cheese, corn chips and extra’s required so that you can use your best judgements when deciding on how hungry everyone is. This serving pictured below fed 3 people with some to spare - the perfect meal for Friday Night Footy - whatever your code!
Ingredients
Pre-prep for meat toppings:
Notes:
Out of the Ord - Butternut PumpkinThis morning I felt like really taking my time with this recipe, so I put on some music, opened the windows to let the breeze in and got to it. I placed a variety of local ingredients in this pumpkin soup including chickpeas, and bush squash - I'd never cooked with bush squash before but it arrived in my Rock Solid Produce Box and I figured I'd give it a go. The chickpeas were very much a last minute addition - I try to keep some pre-soaked and precooked in the fridge so I can toss them in salads or fry them with some spices as an afternoon snack. The end result was a delicious, filling soup for lunch! Give it a go, you won't be disappointed. 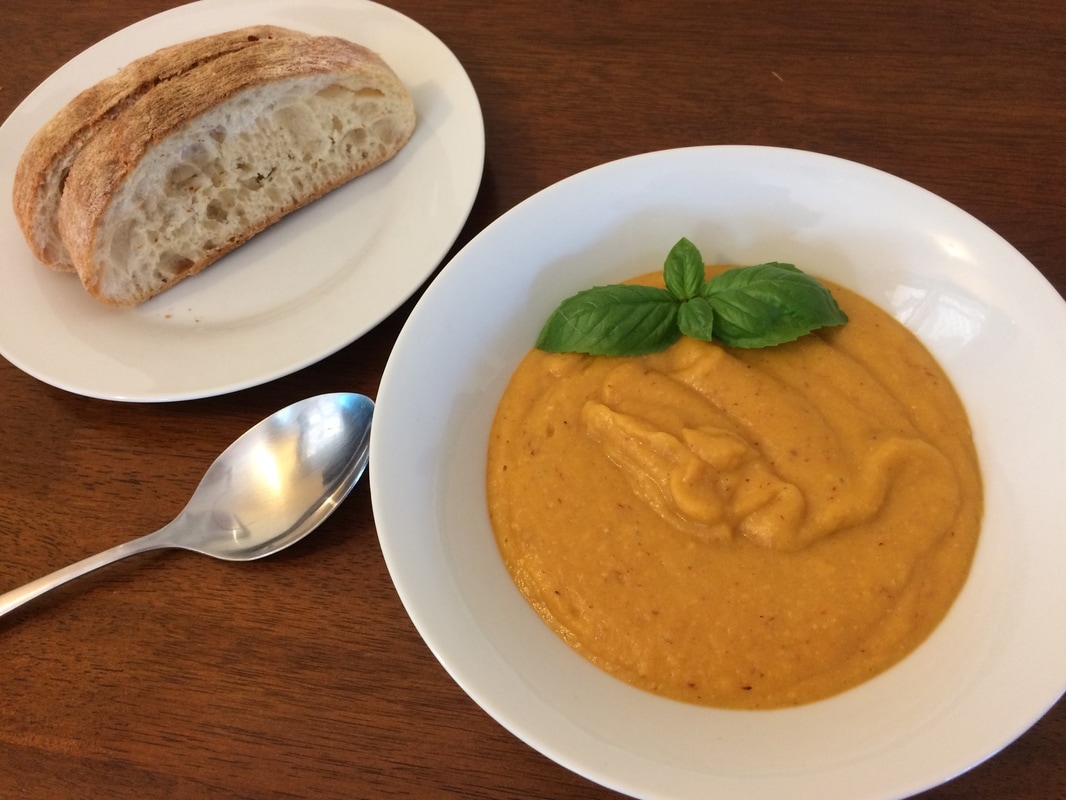
Time: About an hour Serves: 2.5 people for a main meal or 4 people for a starter Ingredients:
Method:
Notes:
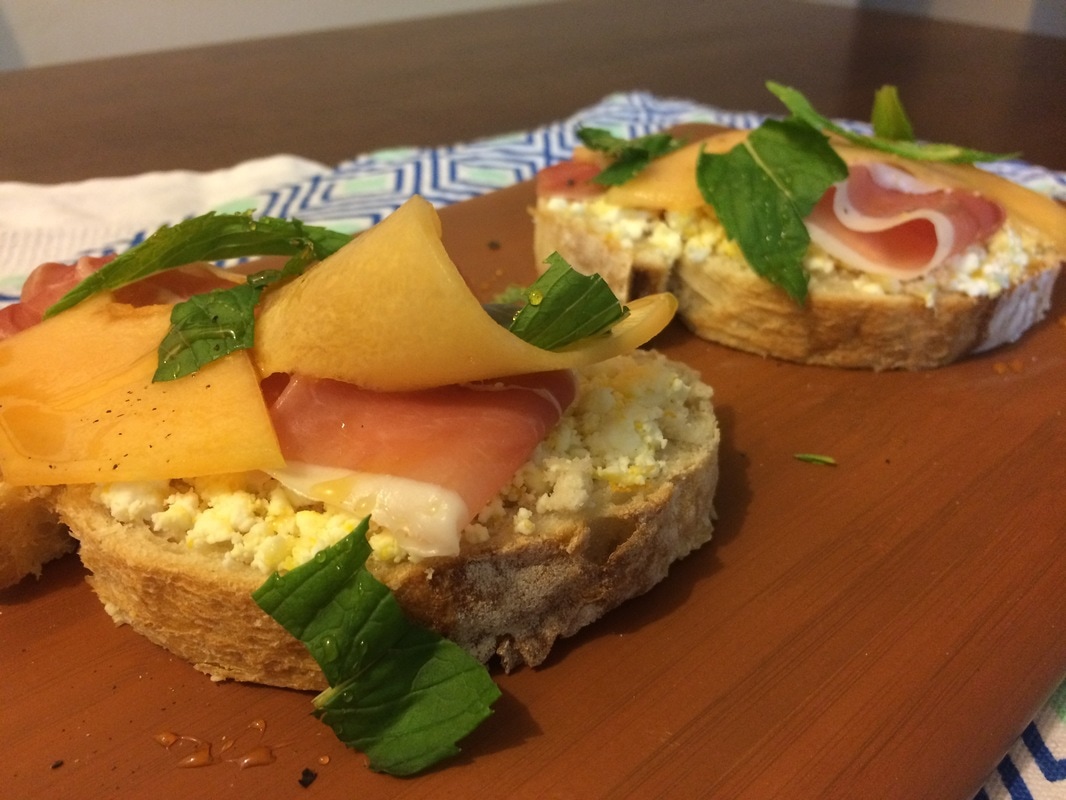
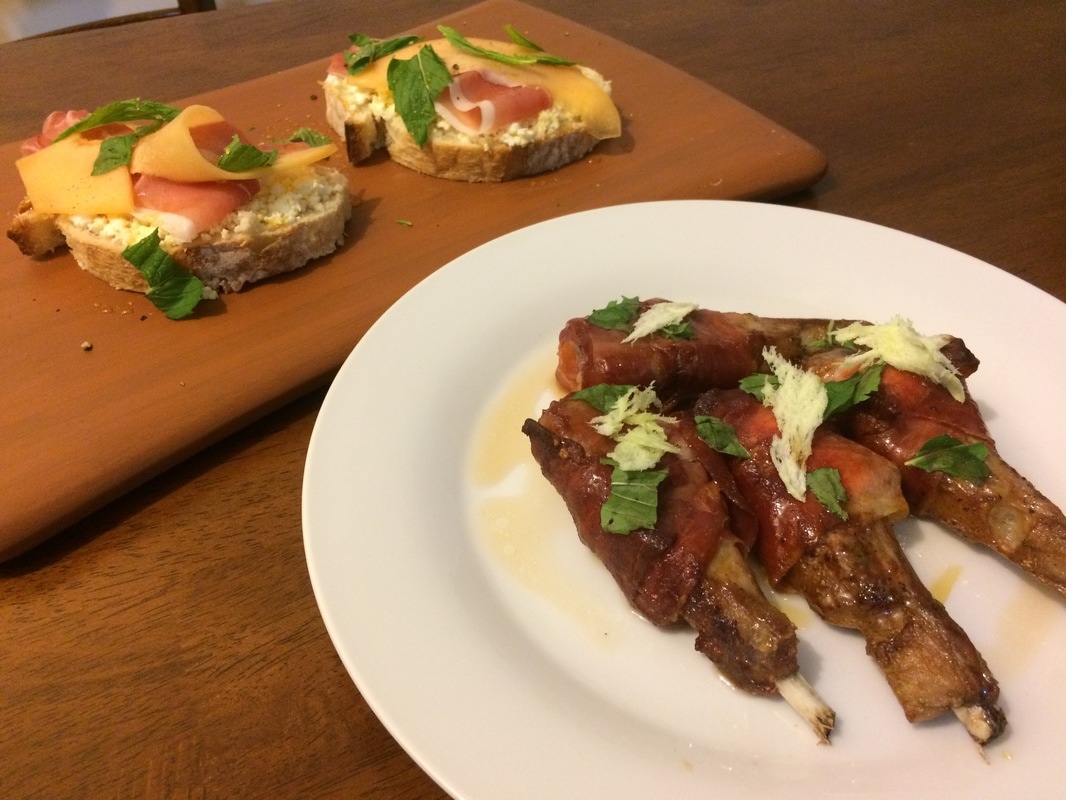
Out of the Ord - RockmelonThis week Out of the Ord is spending some time with Rockmelon - otherwise known as Cantaloupe or....
Here is the first recipe I'll share which we ate last night along with some lamb wrapped in prosciutto, I have an ice-cream bar in the works too and will share that once it has set. Matt cooked the lamb which has some bush banana on top - we went hunting for this yesterday and there are some good images of him up a tree which i'm sure he will share on the ABC Kimberley page sooner or later.
Recipe as per TASTE website, also in their 'Entertaining' cookbook.
Ingredients:
Method
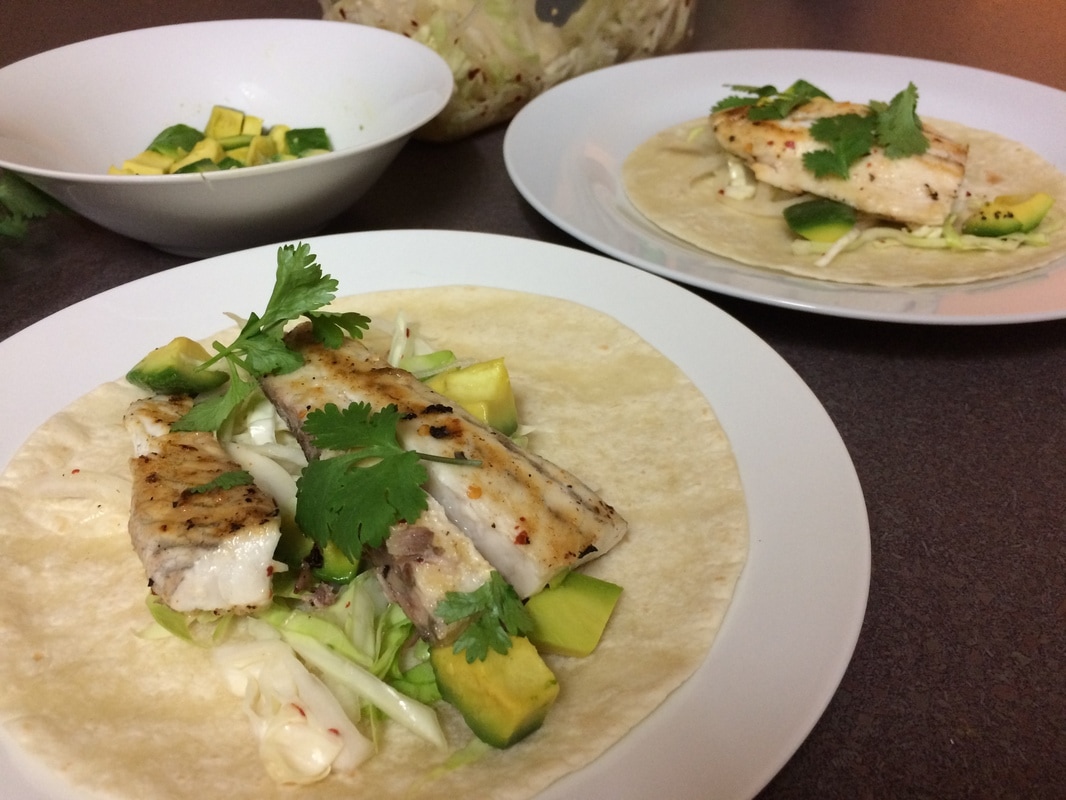
Out of the Ord - BarramundiWhen I found out it was Barramundi week I was pretty excited - the Brann's where going fishing over Easter weekend at El Questro and I thought for sure I could post a picture of me an my giant Pentecost River Barra that I caught pre and post recipe blog....... I caught nothing..... Neither did my man-friend..... neither did our guests from Katherine and Darwin..... and Tommy (our 1.5 year old) well, he was too busy eating chocolate eggs and swimming in the lovely river at El Q township to be of any help. So with my store bought Australian Barra i'd like to share this simple Taco recipe as it is one of our favourite meals at home (we cook it every couple of weeks at the moment - it is very high on recipe rotation! But I thought I'd mix it up for the Out of the Ord community in case they wanted something fancier, so I've also included a Donna Hay recipe from one of her cookbooks 'The New Easy'. Both have their merits - Both are delicious. Simply, ours is family friendly..... and Donna's has tequila in it - great dinner party stuff, I may have enjoyed a margarita alongside my taco last night! Thanks for being my internet friend!
My Simple Barramundi Soft Taco's
Ingredients:
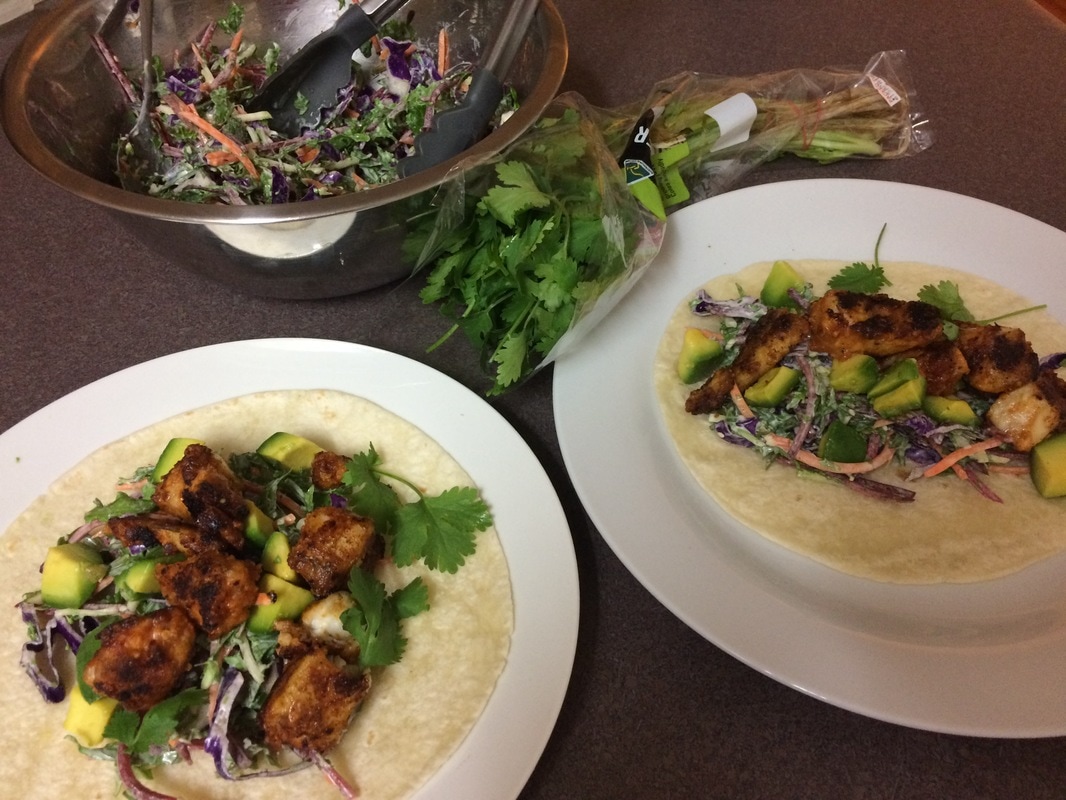
Donna Hay's Tequila and Lime Fish Taco's Slightly altered from her ‘The New Easy’ cookbook – great book! Ingredients:
· 1 white onion, thinly sliced · 2 cups of shredded drumhead cabbage Method:
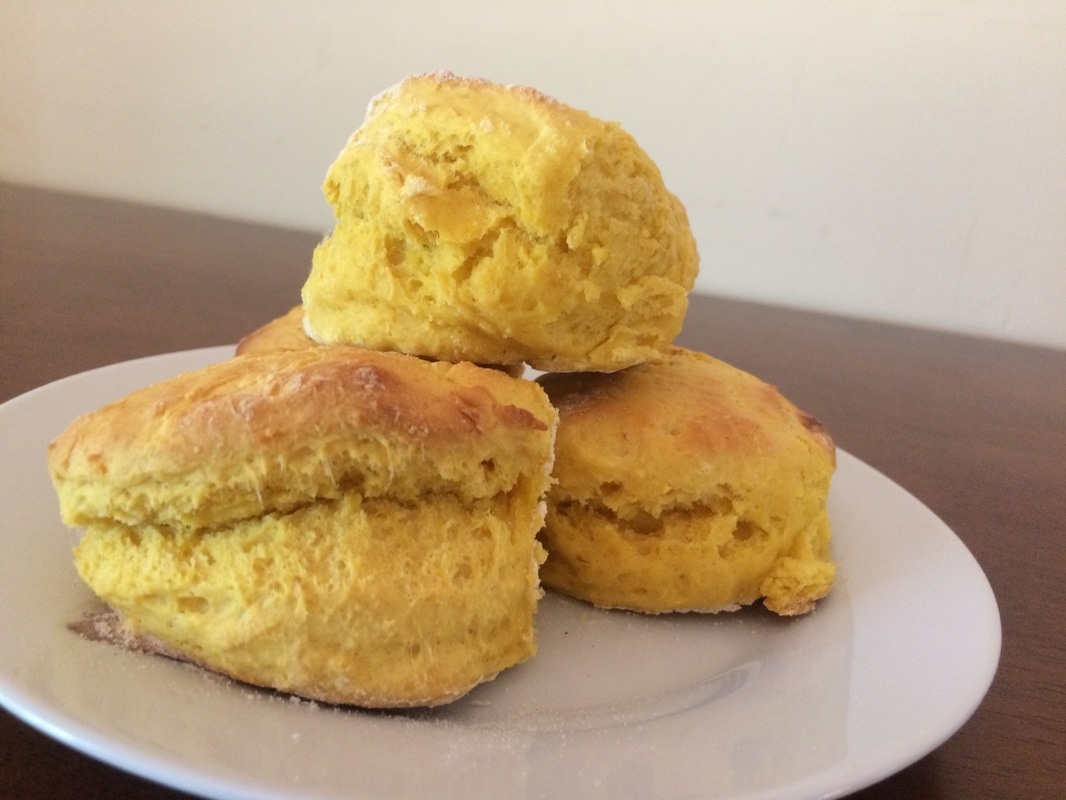
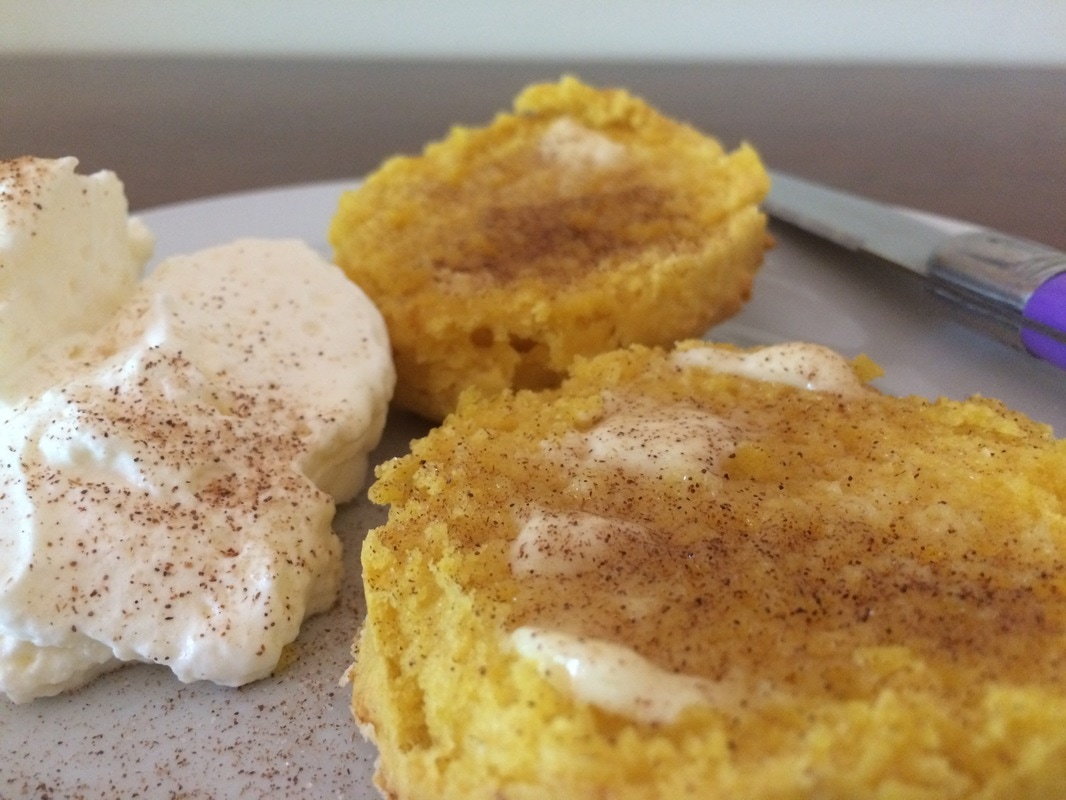
Out of the Ord - PapayaToday I whipped up these tasty muffins for the long weekend. I adapted the recipe from the Australian Papaya website, which has lots of other yummy Papaya recipes. 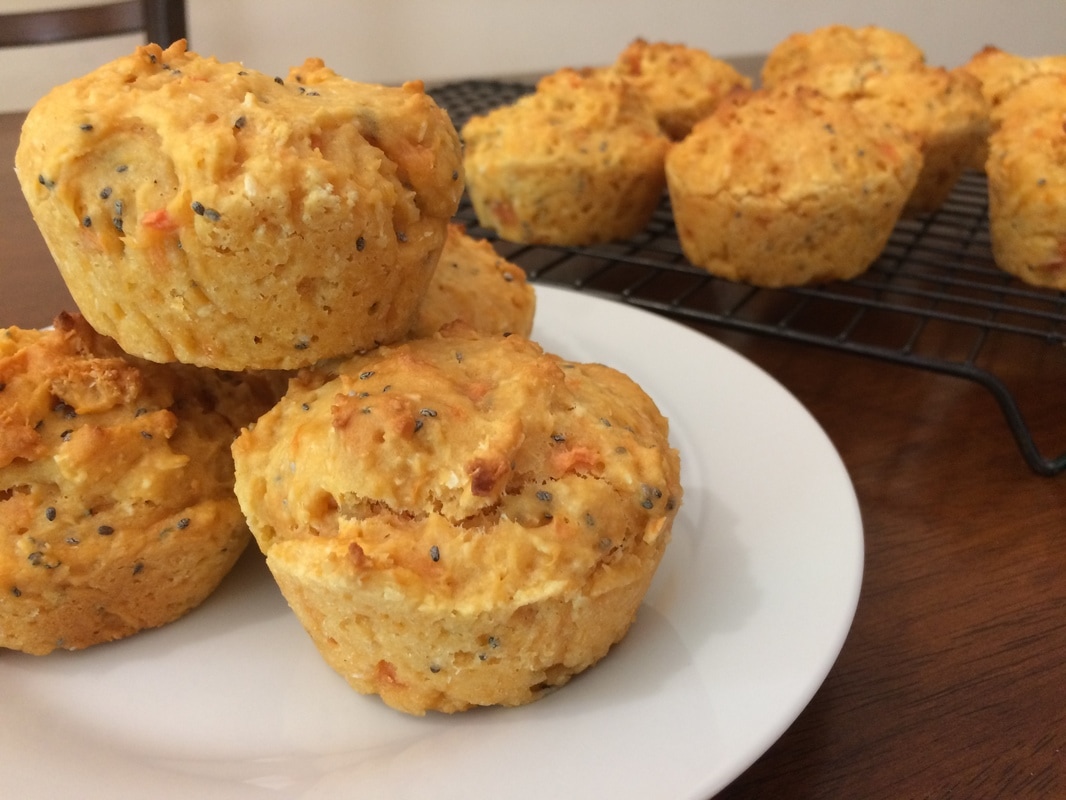 Ingredients:
I wanted to make little gift packs for friends this Easter so I set to reinventing a previous slice recipe using Easter Eggs from the chocolate aisle. Here is the end result and new recipe which was delicious and naughty - after licking the bowl I went for a BIG run and consequently hurt my knee a little... It's okay the chocolate makes it feel better.. LOL Remember everything in moderation - even moderation! 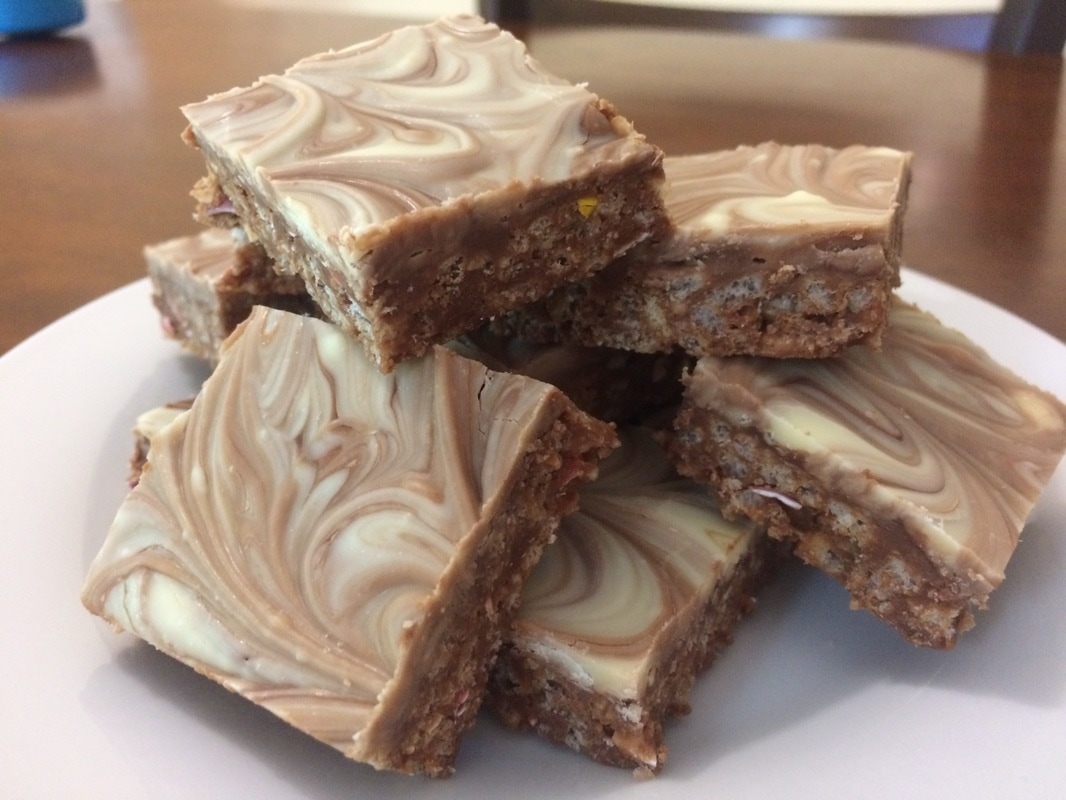 Ingredients
Method
Notes
Out of the Ord - Leafy GreensAs a lover of lettuce as the ultimate salad vessel - this week was pretty easy for me. With Chorizo sausages on special (thank-you supermarket!) and leftover pumpkin, feta and chickpeas in the fridge, the Brann's embarked on a classic #NOWASTE meal - Matt and I try our best to use everything we buy. So we ate this whole platter of food between two of us last night (I also had a glass of wine.... weeeee!) and because it's the ultimate protein and carbs combo I felt really good about myself after! Plus now I have some open wine to make a seafood marina tonight - the supermarket deli is having some gangbusters specials right now! Enjoy - thanks for reading!!! 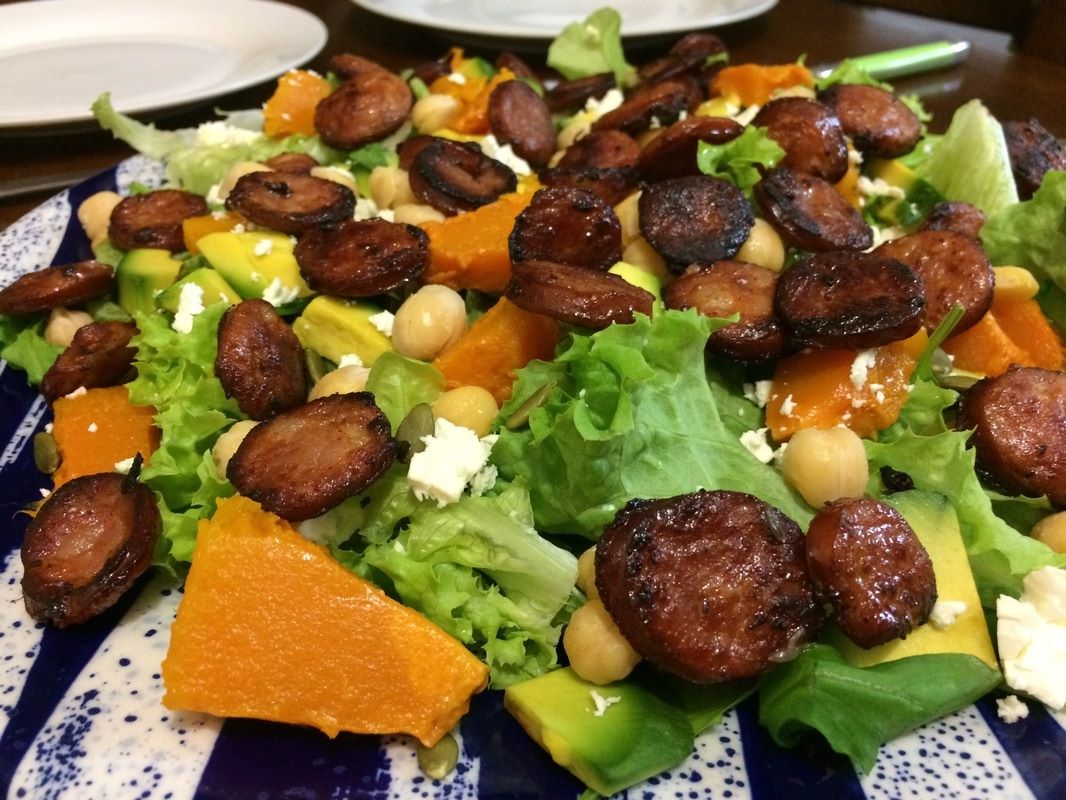 Ingredients:
Method:
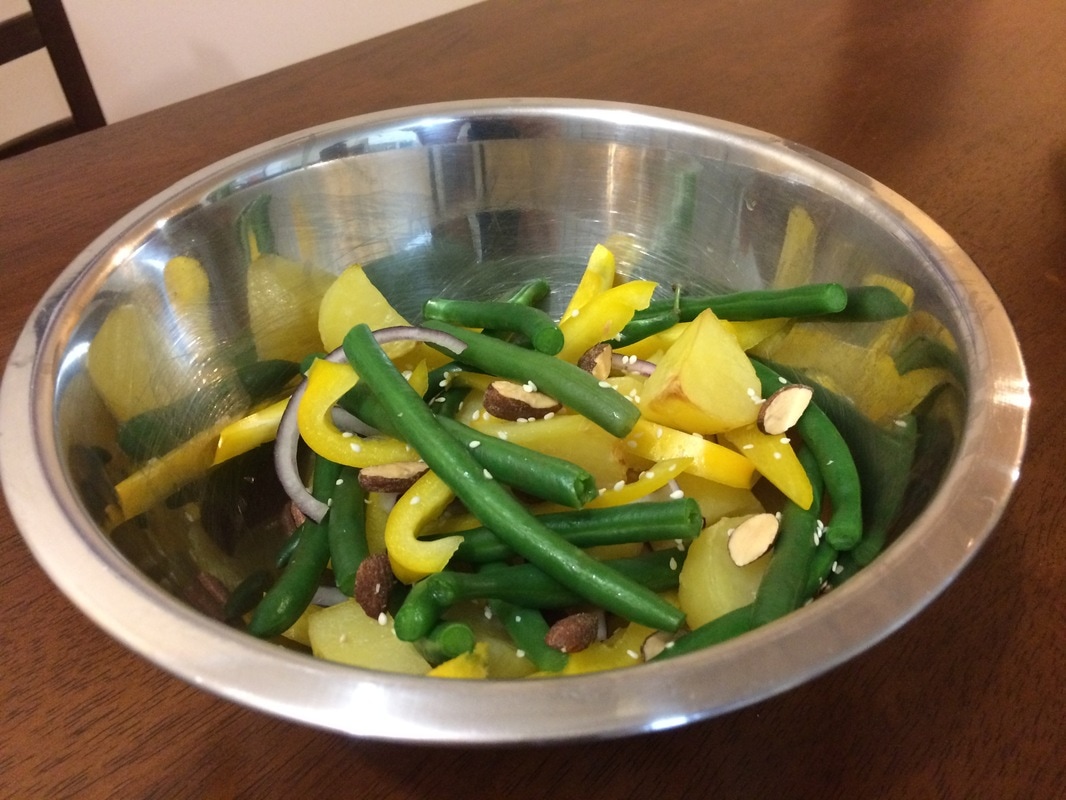
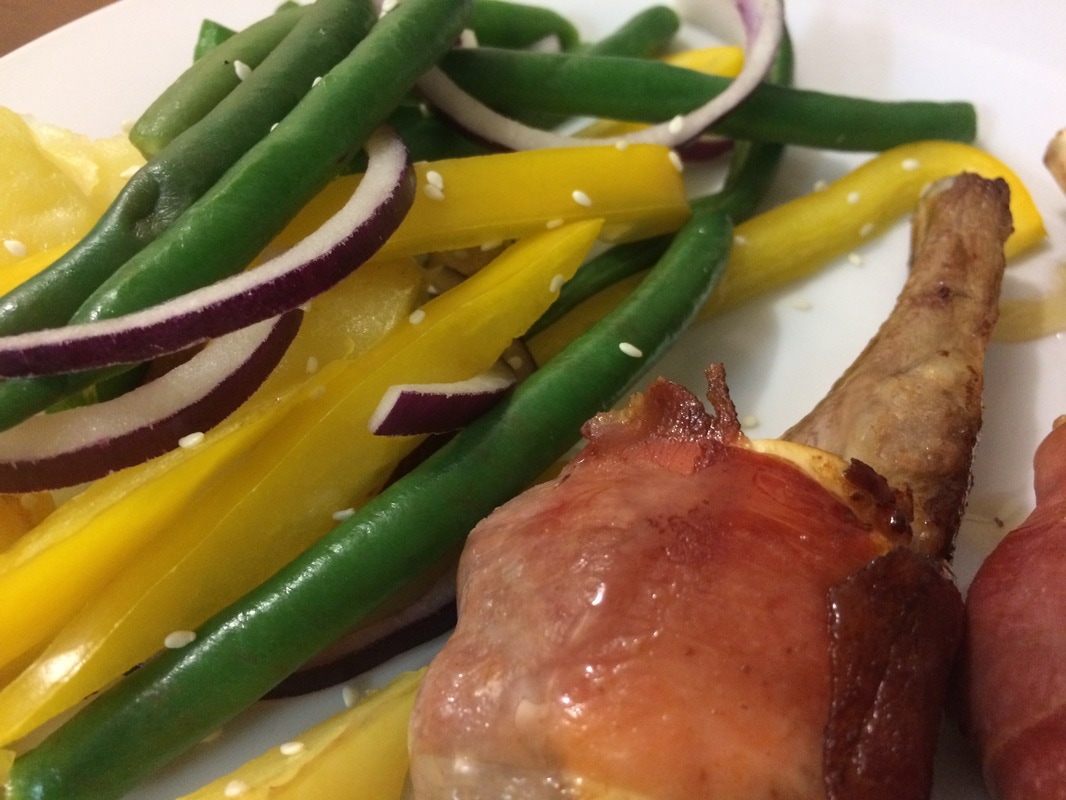
Out of the Ord - Green Beans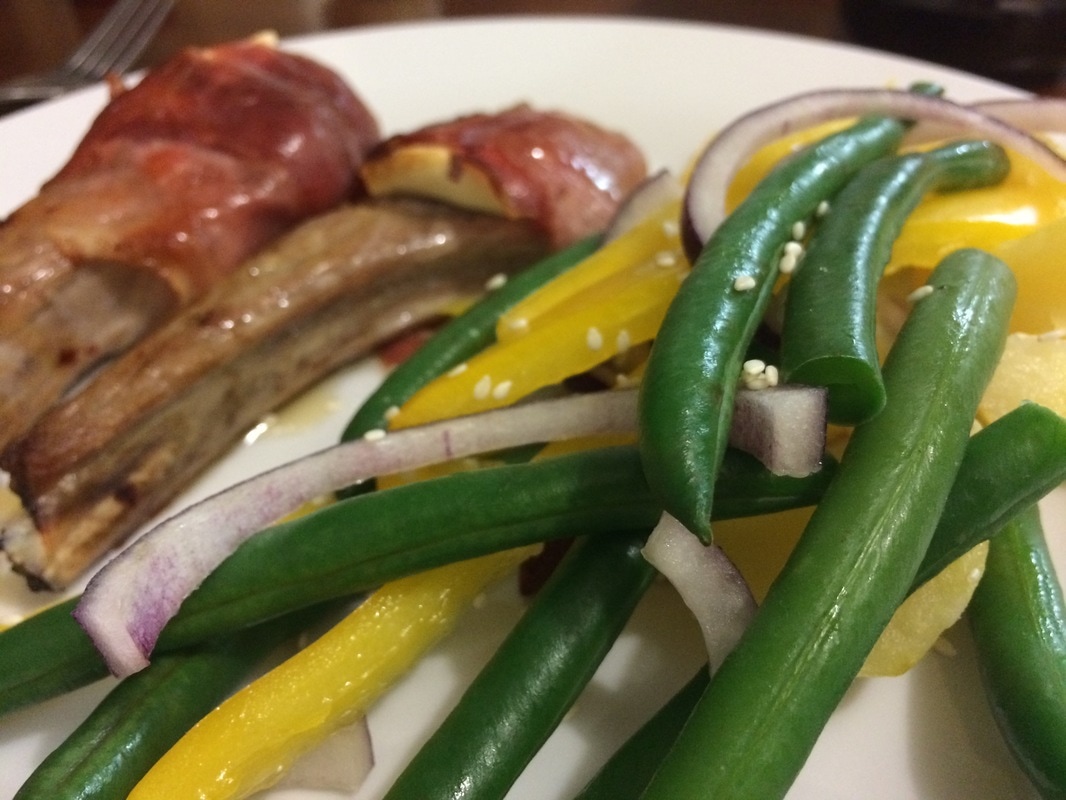 Ingredients: Salad:
Method:
Out of the Ord - Jap Pumpkin
Ingredients:
Method:
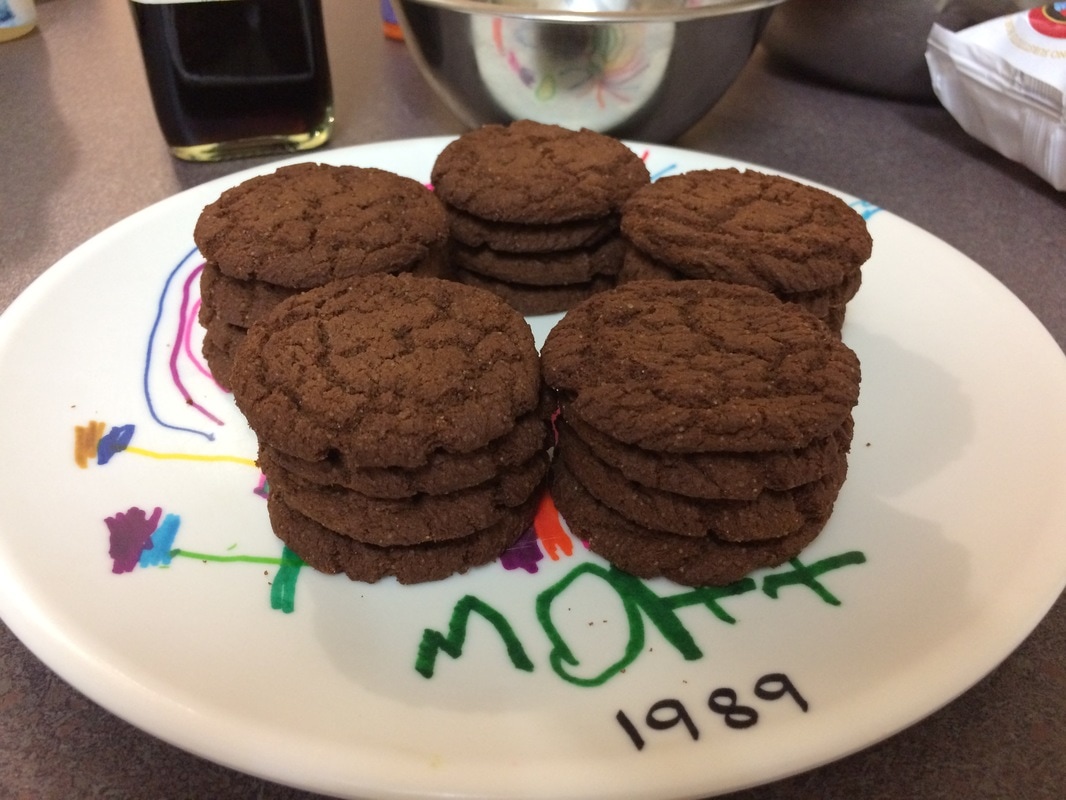
Notes: · For the pumpkin, I used leftover roast pumpkin from a previous night’s roast dinner. · I also made a batch using leftover pumpkin soup (thanks KK’s mum!), which is generally thinner than straight mashed pumpkin so add an extra cup of SR flour. Out of the Ord - Rum
Ingredients:
Method:
Notes:
I hope you enjoy this cheeky twist!
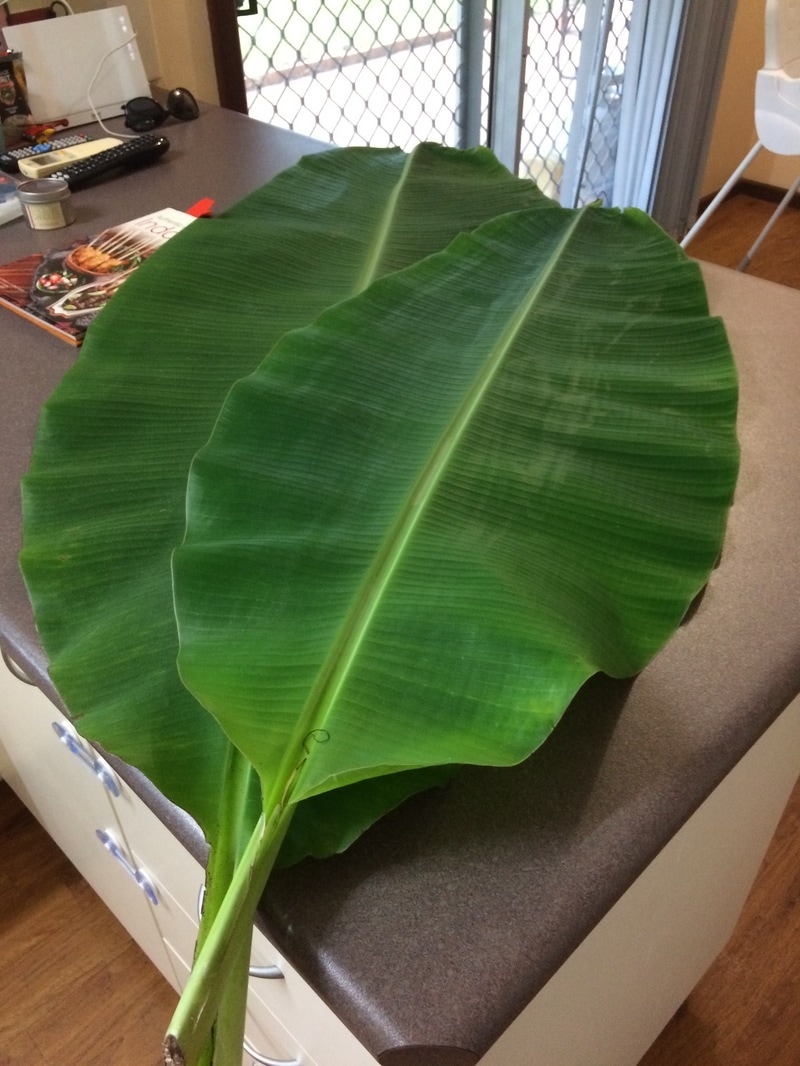
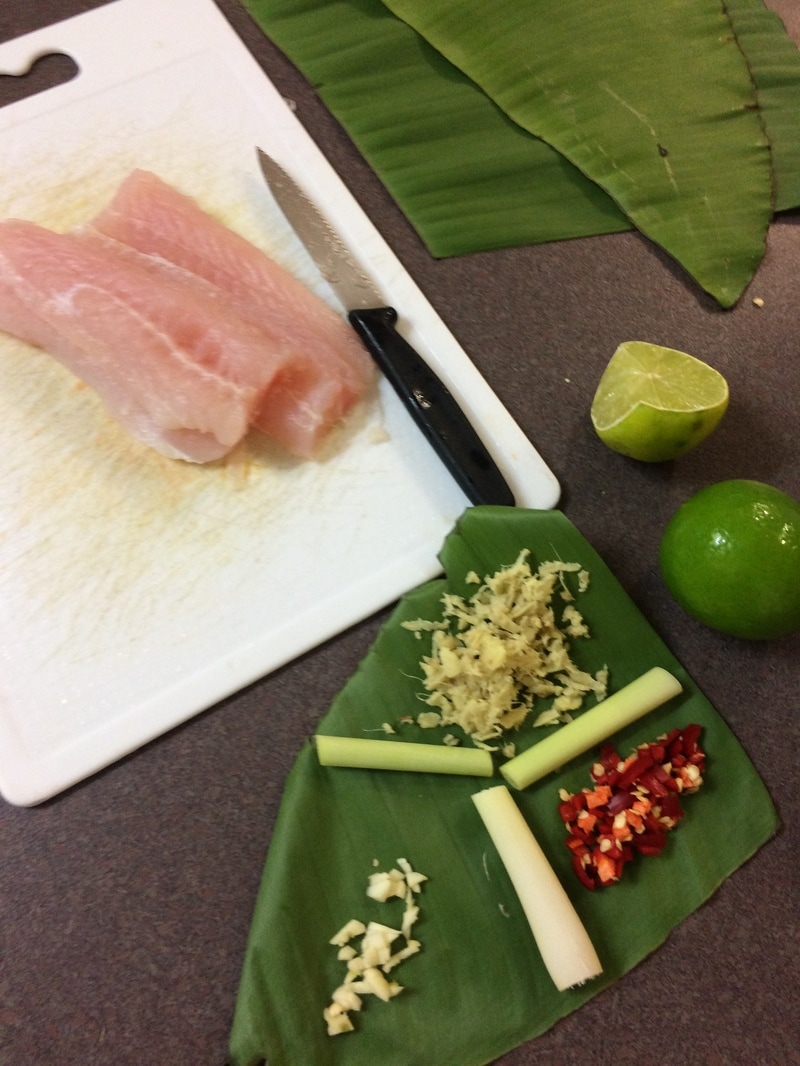
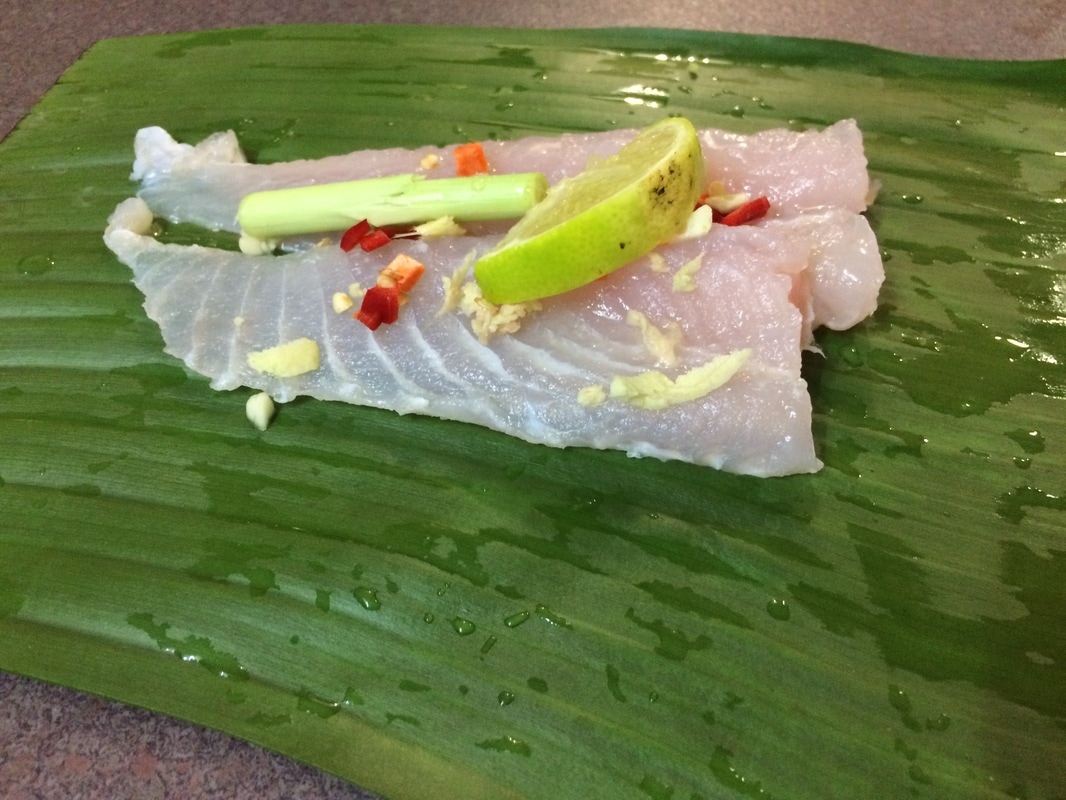
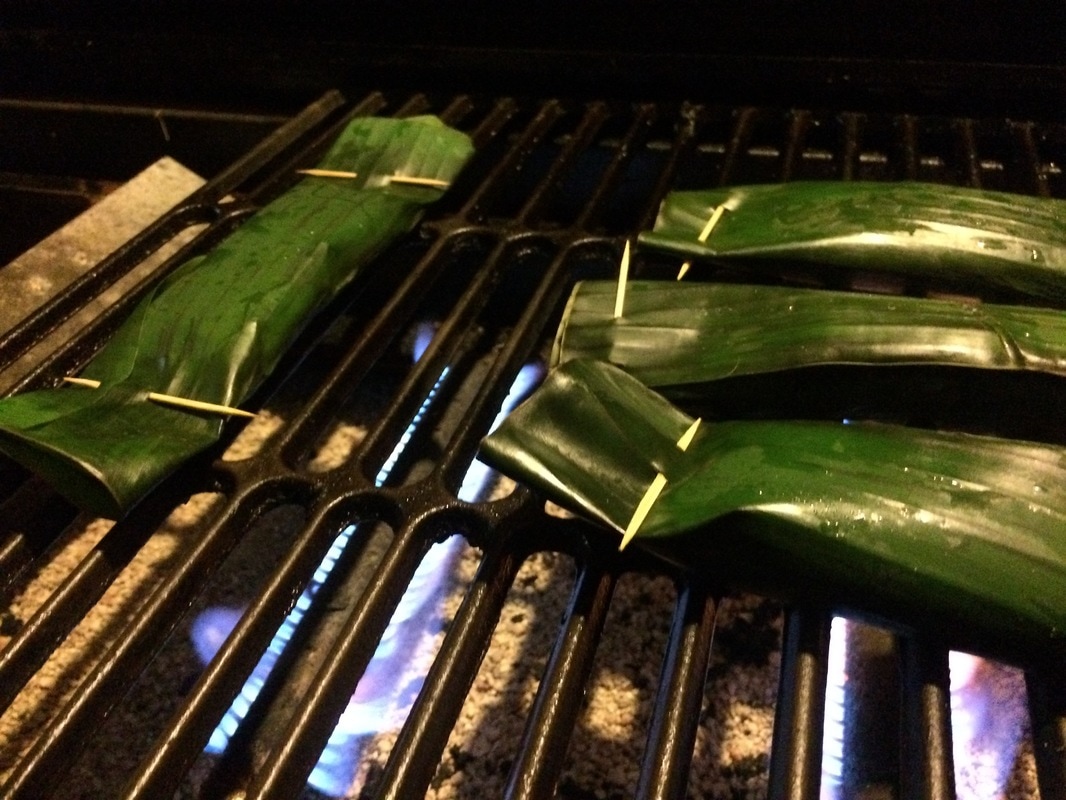
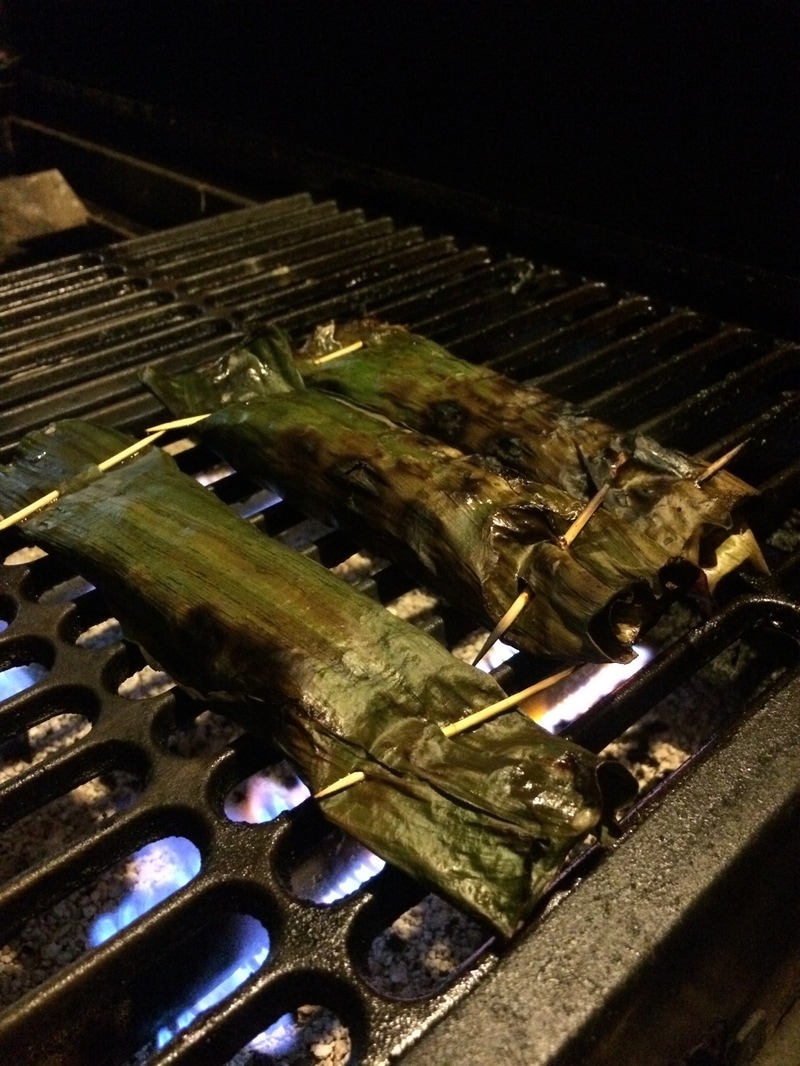
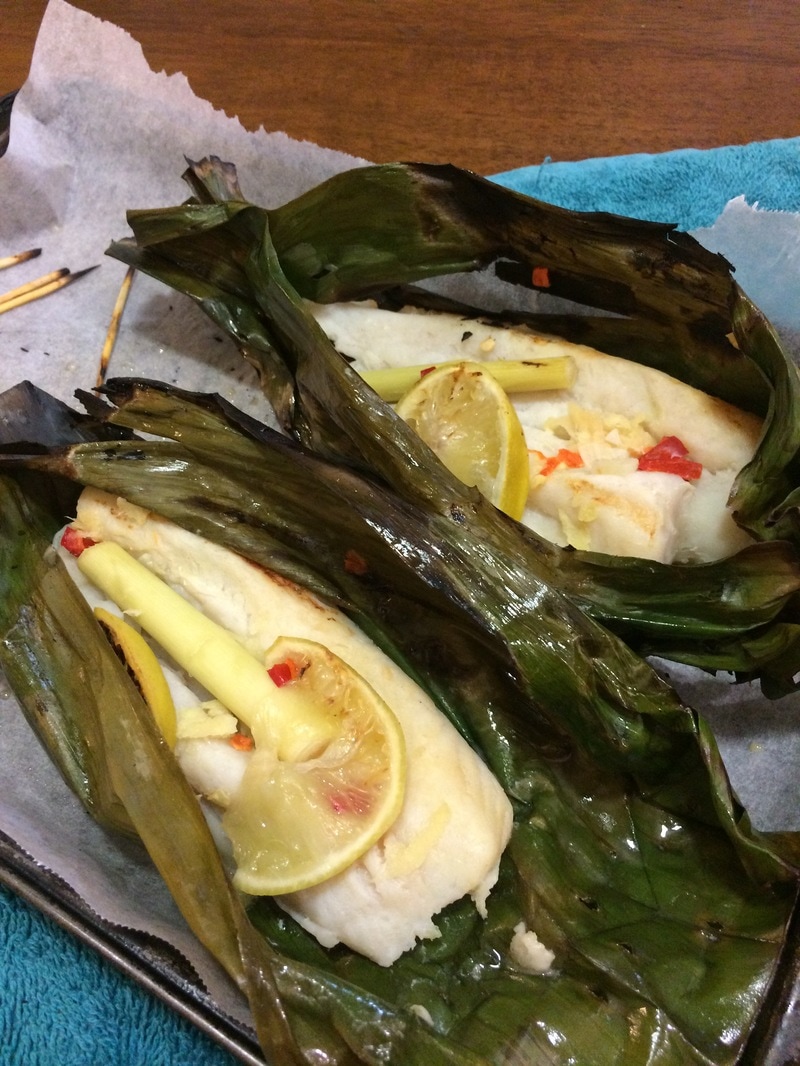
Out of the Ord - Banana LeavesBanana leaf is a great way to cook your freshly caught Kimberley Barra on the BBQ and it's so easy. Simply, throw all your favourite ingredients for fish into a food processor (or don't and just mix) then spoon on top of the fish for easy wrapped parcels of flavour. I used garlic, ginger, lime, lemongrass and chilli which was delicious - but you can use anything, like say.....
To make the parcels:
But wait - still not feeling confident about trying this at home? If you're after a legit recipe for a Thai based fish parcel with proper ingredients and instructions then have a look at this blog post I wrote in 2014 when living in Darwin. Out of the Ord - LimesWith the highway closed and minimal food getting into Coles in Kununurra, last week saw a couple of empty aisles and very slim pickings for fresh produce. Luckily these limes are sold directly into Tuckerbox stores here in Kununurra and the rest of the ingredients are staples in a bakers pantry. A nice easy sweet treat that I'll be taking to Crazy Crocs playgroup tomorrow, for all the mums needing a pick-me-up, best served with a cup of tea! 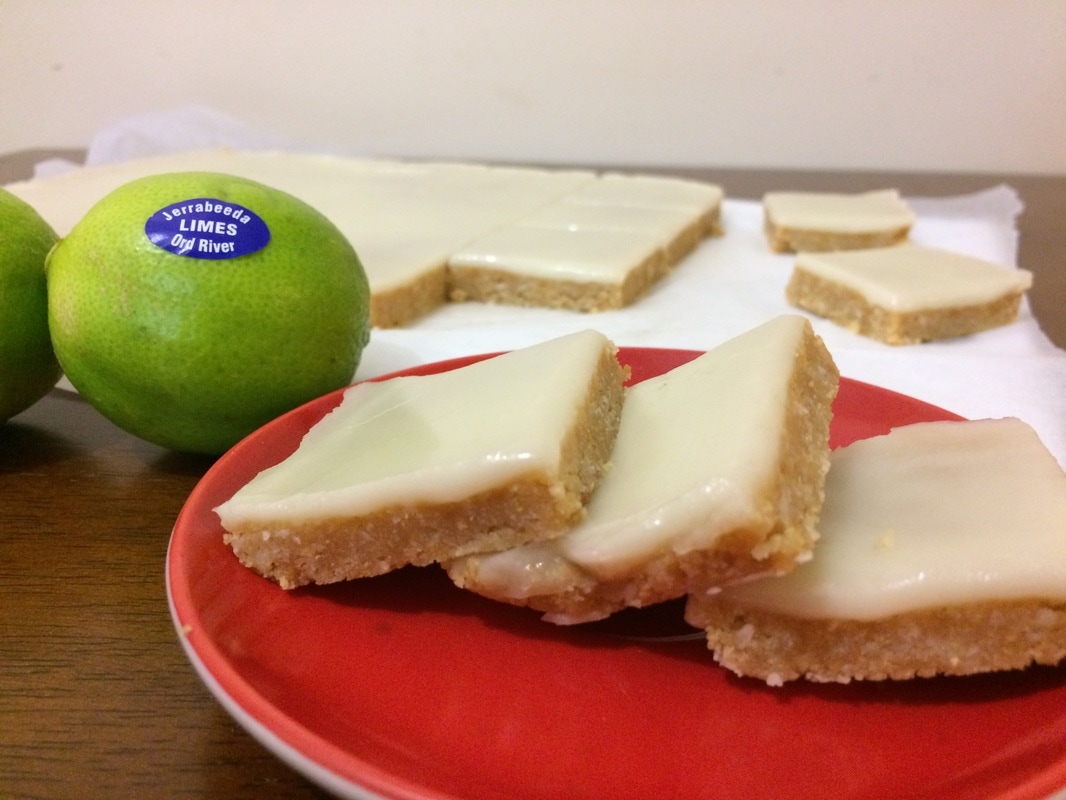 Ingredients:
Biscuit base:
Method:
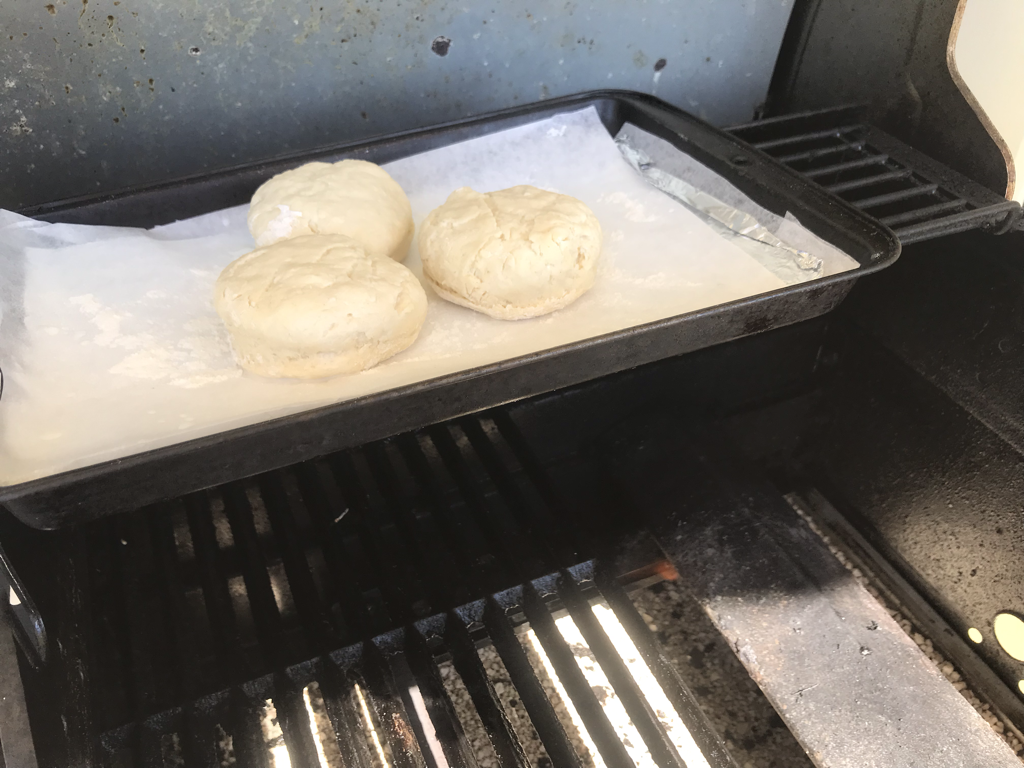
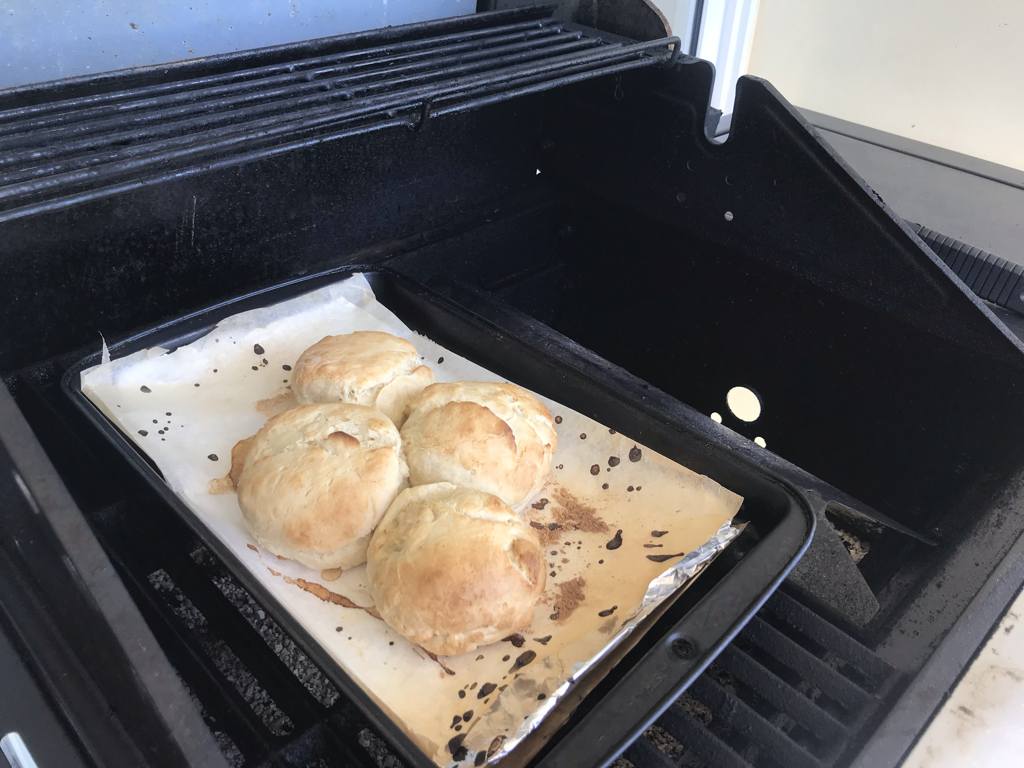
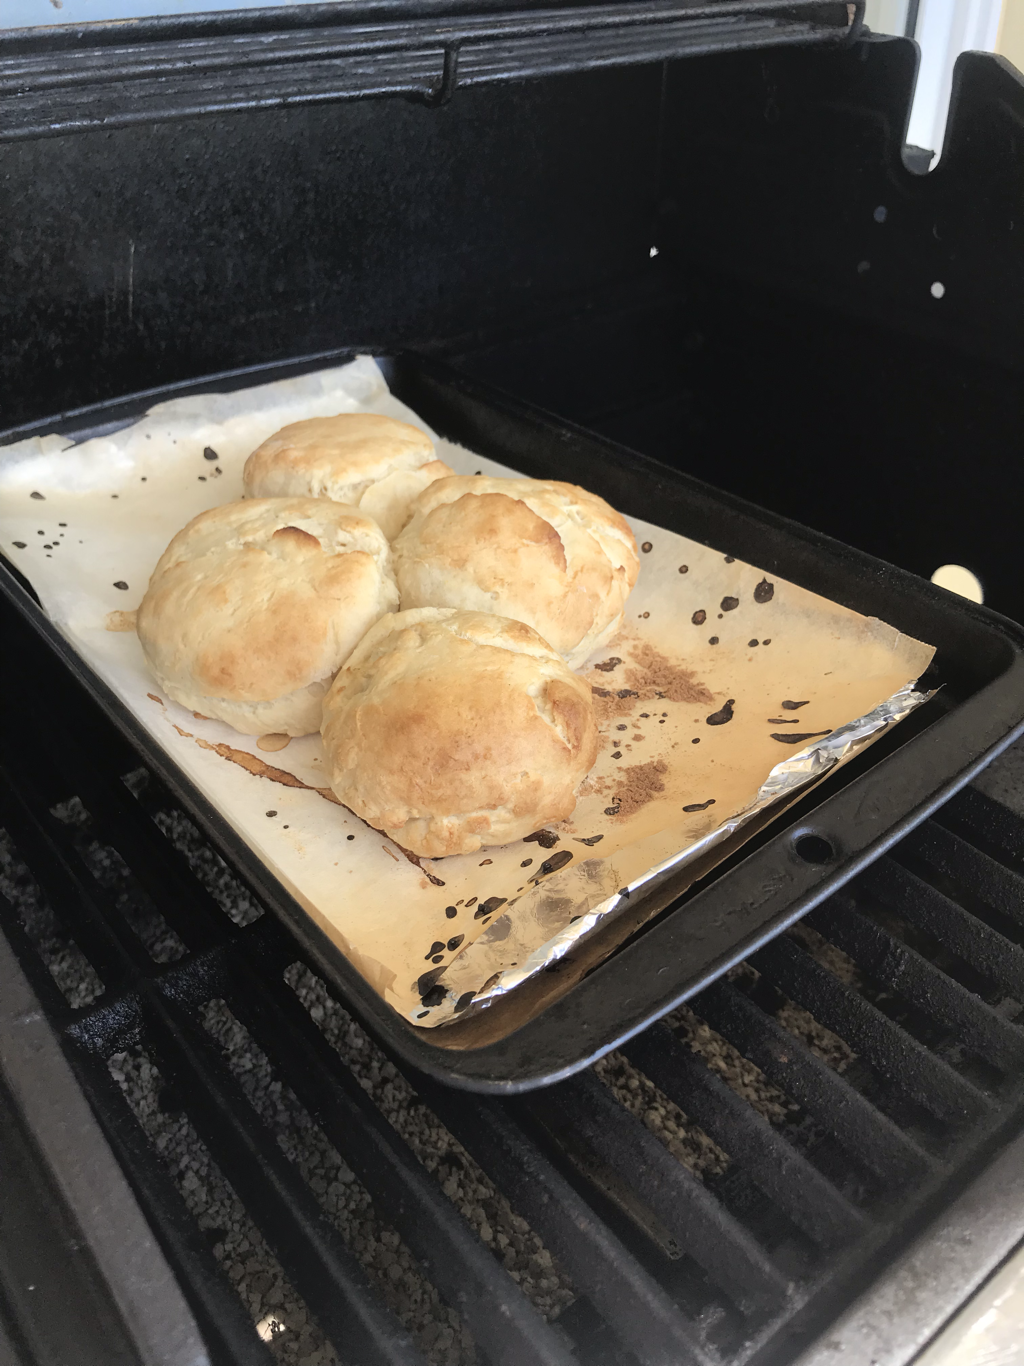
The BBQ is working!!!Finally got the BBQ working this week on our return to Kununurra after XMAS vacay to NSW Kiama, Newcastle, Scone and Dubbo. The first meat and fruit grilled was this delicious Peach and chicken salad! 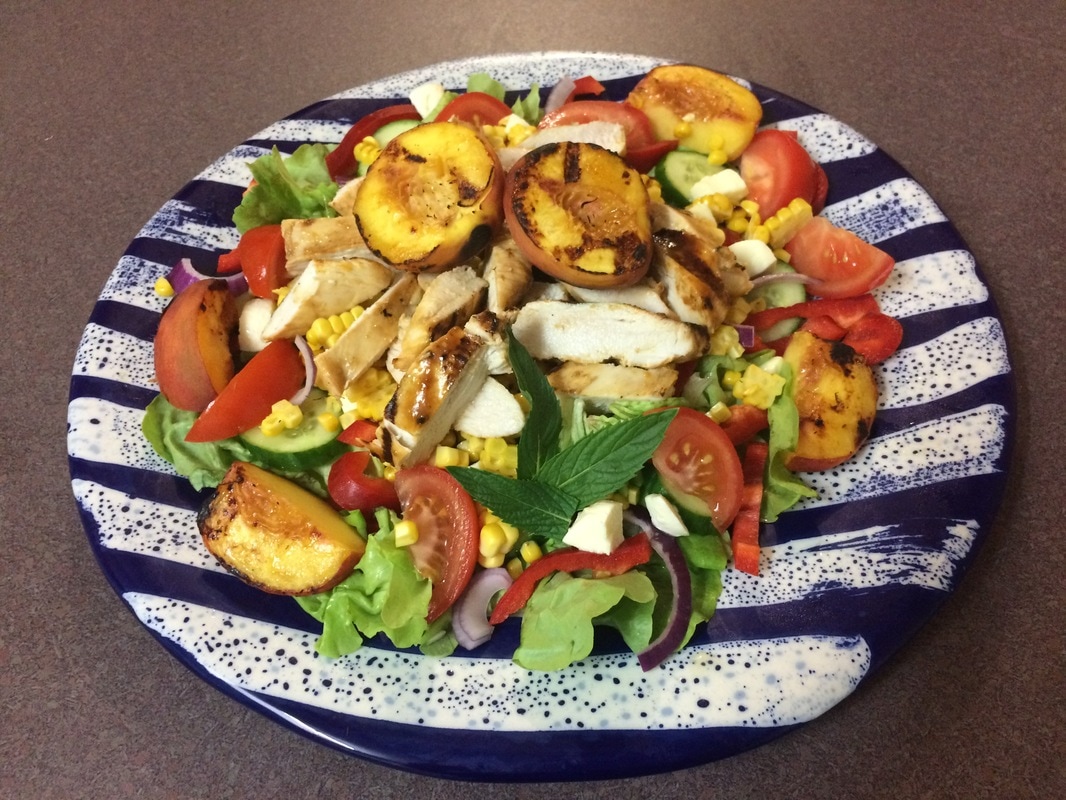 Peach Glaze Ingredients:
Chicken Salad Ingredients:
Method:
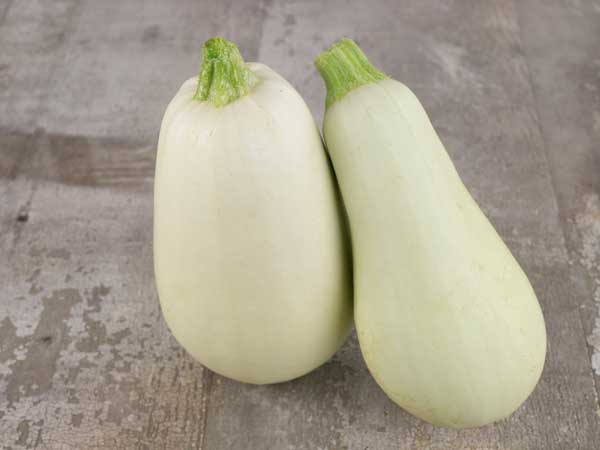
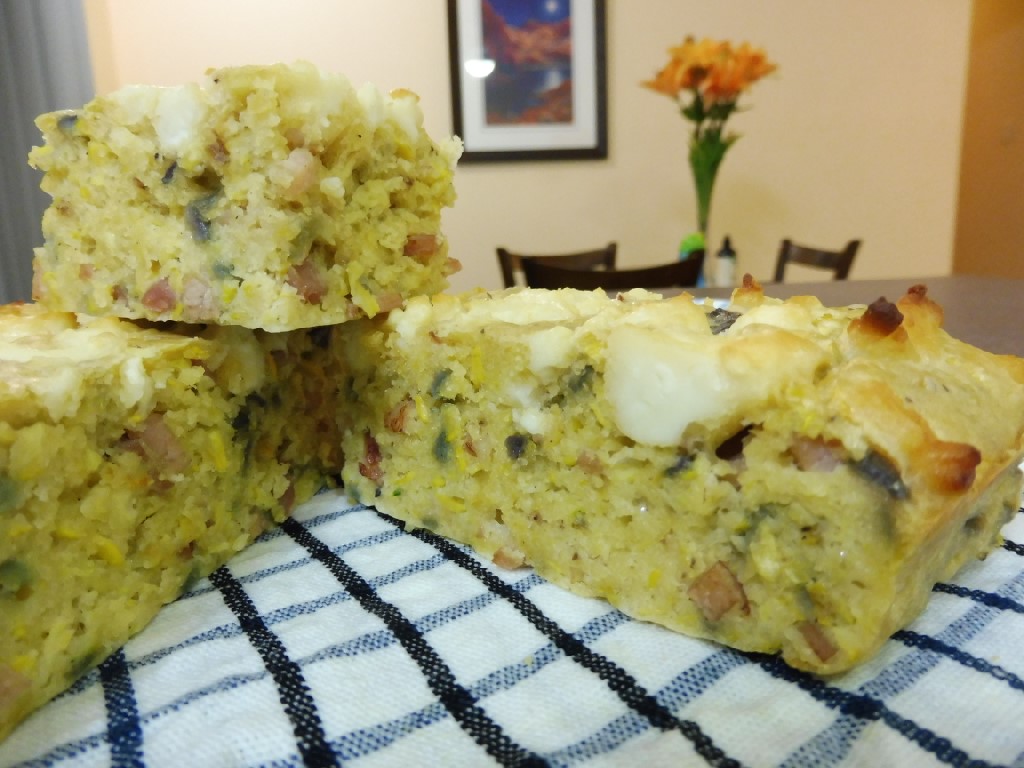
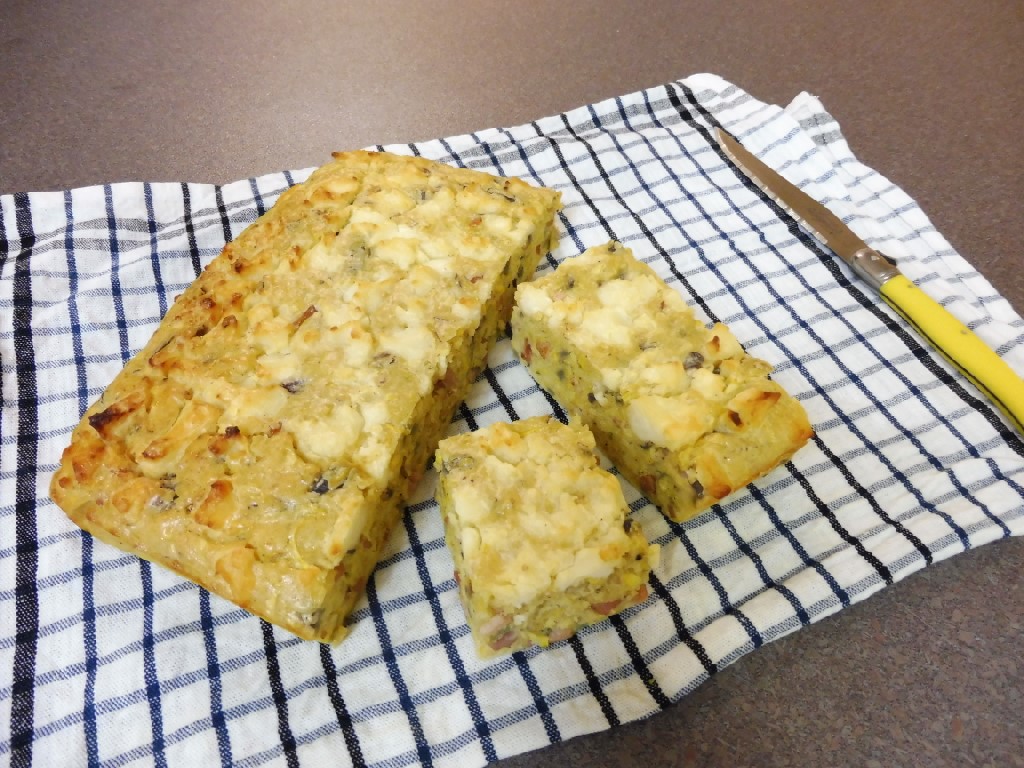
Out of the Ord - Yellow SquashI've never cooked or eaten yellow squash before, so suffice to say this week was a little bit daunting.... that said, squash is pretty much same/same as a zuchinni yeh? they're in the same family.... So i decided to bake a Yellow Squash Slice instead of a traditional Aussie Zuchinni Slice. The results were delicious!!!
A sweet yet savory slice, perfect as a pre-prepared lunch or dinner.
Ingredients:
Instructions: For a BBQ or Oven baked slice
Notes: * I bought a single log slice from the deli – and it was enough for the size tray I was using (square), if using a larger tray, I would double the cheese quantity. ** I used a square plastic bendy tray, but use could use a tin lamington tray which would work well. Out of the Ord - MangoesI made this curry for Kununurra local Tracy Raymond's TEAR Curry Night Fundraiser, I really like it because it's spicy yet you don't loose the sweet mango-ey flavour. This was my first foray into using free-hand spices instead of curry paste, so i if you want to use other spices or a change the quantities feel free - the internet machine will never judge you my fellow cooking friends. If you find a combination that you reckon is delicious let me know - i'd be keen to improve my spice knowledge. 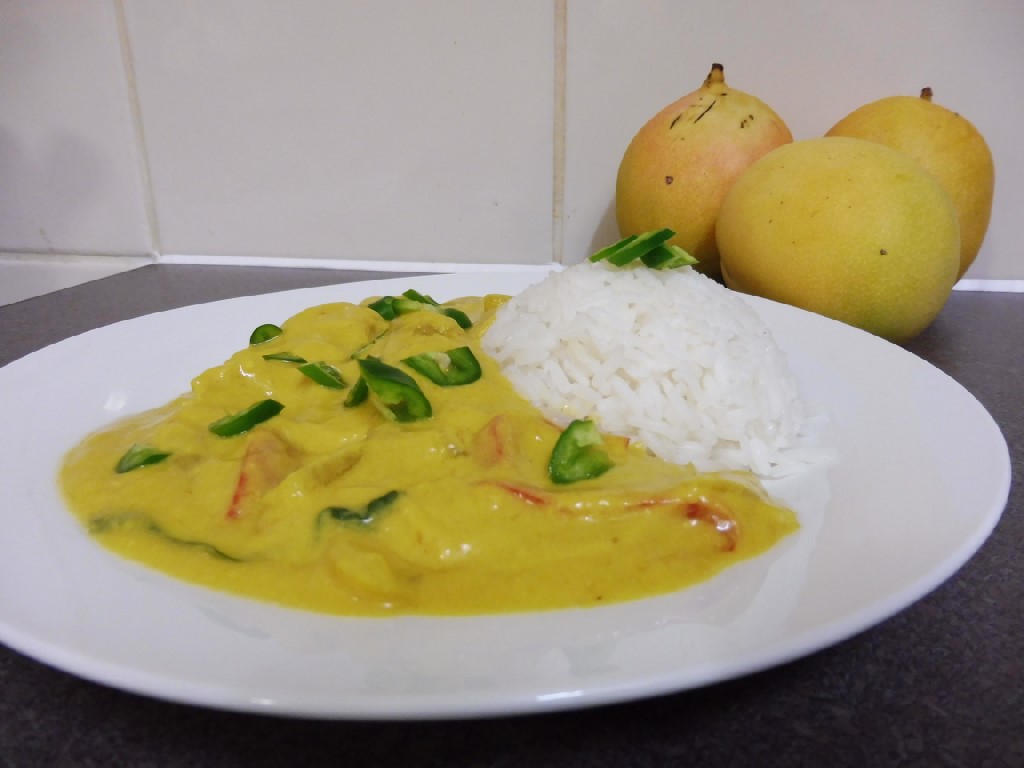 Ingredients:
Instructions: For an oven baked curry
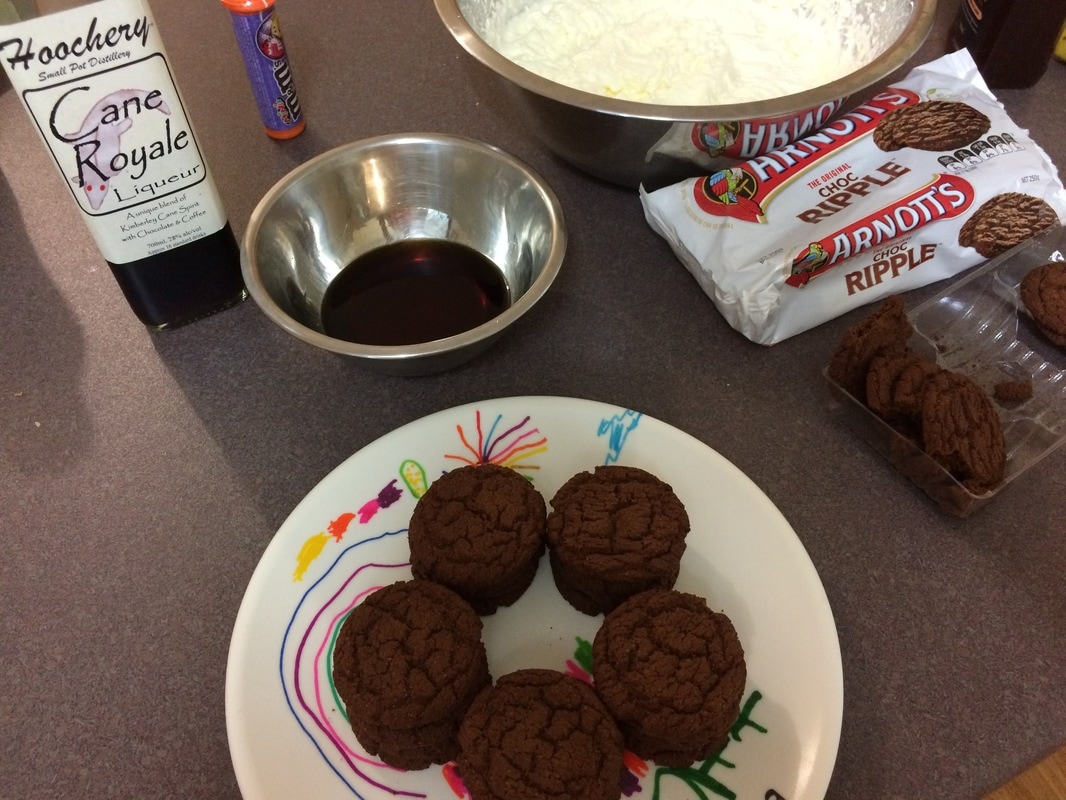
Out of the Ord - HoneydewI thought it was about time that I create a wet season (summer, for the southerners) cocktail, and seeing as honeydew was this weeks crop for Out of the Ord it was meant to be. This is inspired from my bartender days and an amazing watermelon cocktail I enjoyed at Eco Beach, south of Broome earlier this year. I made a couple of different versions using all the Hoochery Rum in our cupboard - the Black Wax Premium Rum, the Kimberley Moon White Rum and the new 5 Rivers Spiced Rum and can recommend that Kimberley Moon white rum makes the best tasting Honeydew Mojito. Yes - I know, that is a lot of rum choice in our cupboard- what can I say, we're fans! I hope you enjoy the cocktail, Matt and I had this as a pre-drink to baking a freshly caught barramundi in an Asian glaze.  A refreshing cocktail made with farm fresh honeydew melon.
Serves 2 I worked on a standard nip - 30ml - per person Ingredients:
Instructions:
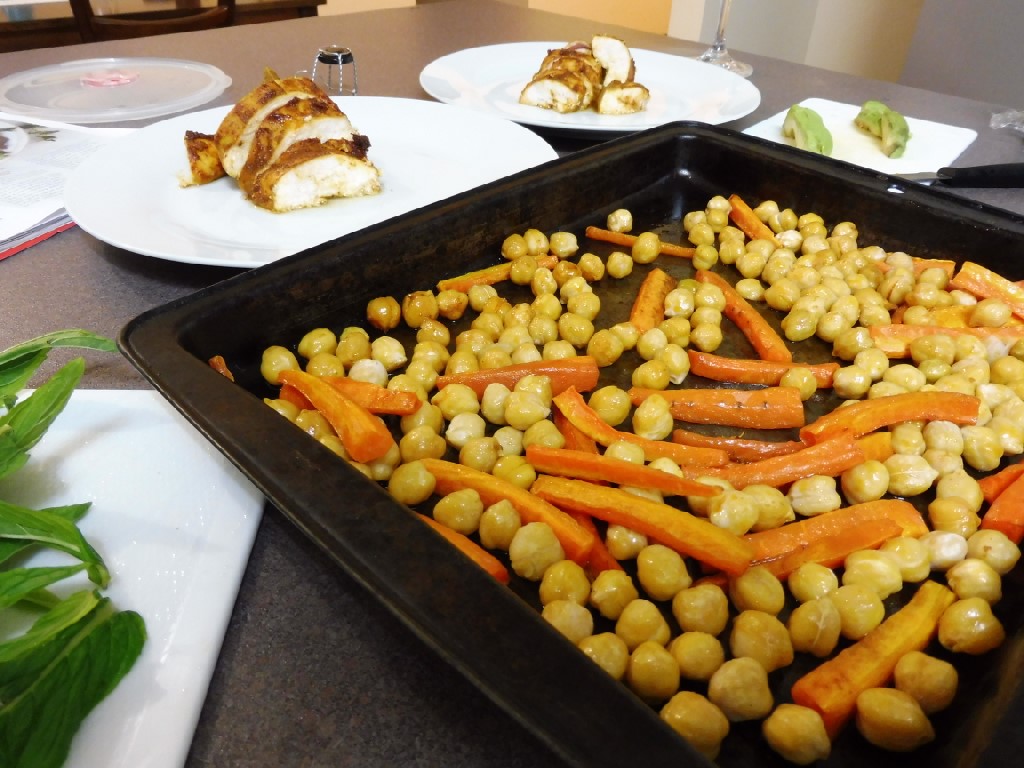
Notes: * If you don’t have a melon-baller, because let’s face it that’s a specialty item…. You can try a teaspoon, I used a tea2 teaspoon which worked good enough… You could also make this part ahead and freeze some melon balls to replace the ice used in the recipe. ** If you don’t have a cocktail shaker and muddling stick, a big plastic cup and a rolling pin will work… *** As previously mentioned you can use frozen honeydew melon balls instead off ice – if you’re well prepared. Out of the Ord - ChickpeasIt's been a big week, visiting Broome and stations along 80 mile beach, but I'm back in the saddle and getting my Ord Valley Cooking on! This week I made a Spiced Chicken and Chickpea Salad, adapted from the trusty Coles Magazine #shoutoutCurtisStone which my man-friend and I thought was delicious, especially paired with a Hunter Valley Chardy! If you're not a fan of the taste of smoked paprika, I would suggest halving the portions below, the flavour is quite strong. 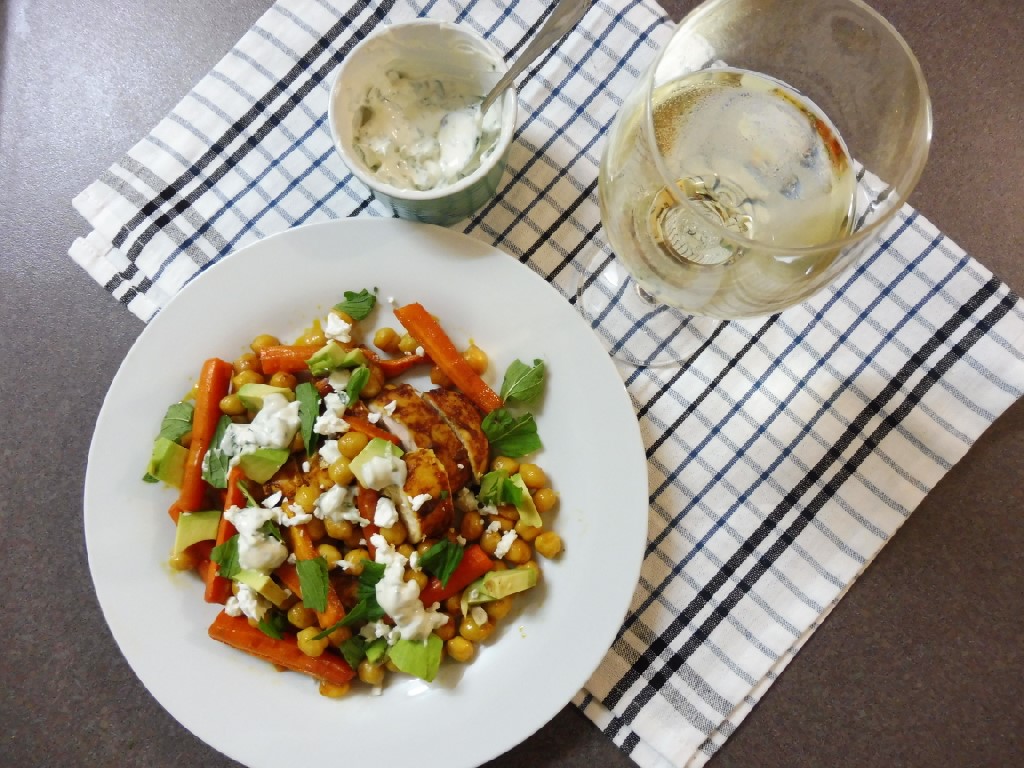 Ingredients:
Instructions: The night before:
Notes: * The weight of the chickpeas was measured after I had soaked them overnight. I soaked more than I needed as I also made falafels and hummus. ** I used extra ingredients I had in the fridge and encourage you to do the same #nowaste hence I added avocado and feta cheese. Adapted from Taste and the Coles magazine.
|
Categories
All

AuthorHi, I’m T. |
|||||||||||||||||||||||||||||||||||||||||||