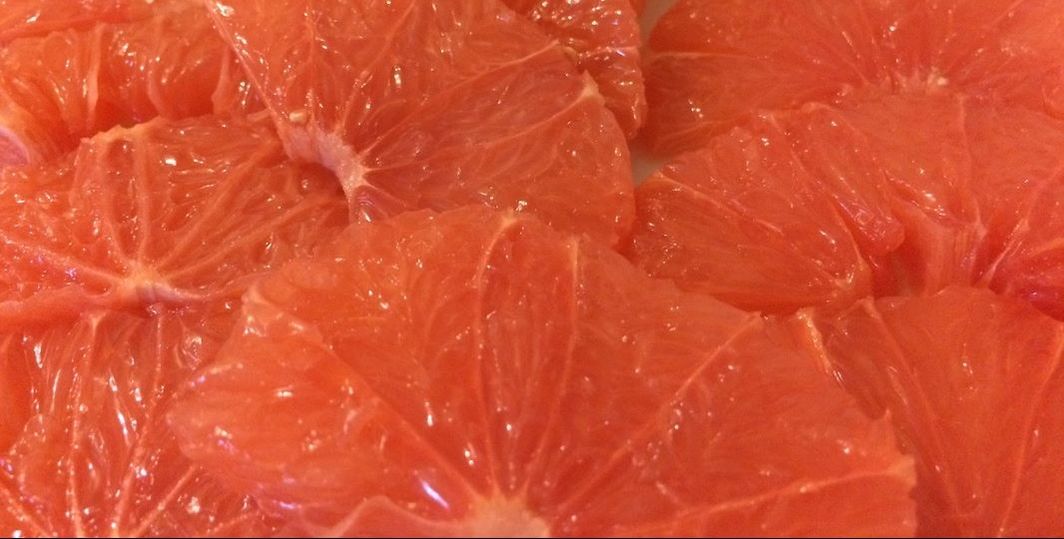
Out of the Ord - Red GrapefruitI made this meal for myself while I was bachelorette'n last night as the Hubs was out supporting the Blues in State of Origin. I know it's not a typical can't be stuffed meal that you're meant to make on such occasions but surprisingly this didn't take long at all. I even adapted it for the young'n - he ate quinoa, avo and chicken and had a freshly squeezed grapefruit juice to wash it down - yes I am aware that makes me one of those types - but I don't care, he's happy and I don't have to make two meals - moohaha!! Plus the look on his face when he squeezes the grapefruit using my super old school juicer is priceless - he claps himself after and everything.... Enjoy! 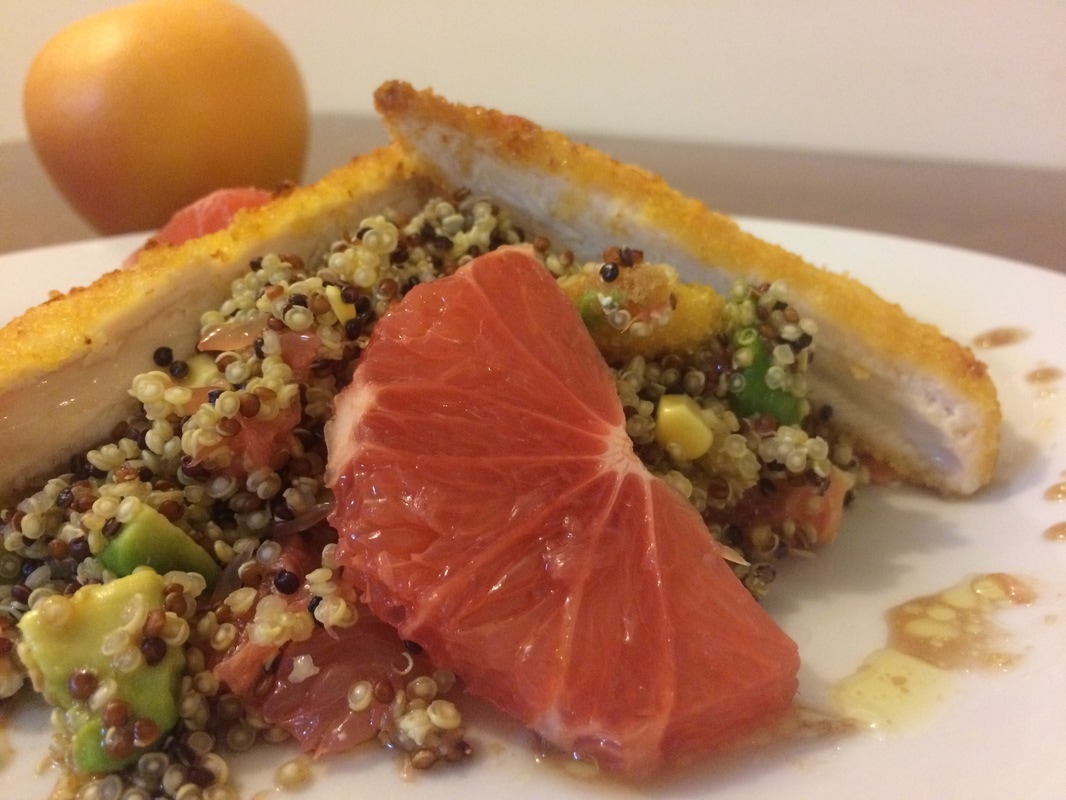 Right, this is going to be a loose recipe - I'll try and write up a recipe card later, but I'm running out of time this week. So come back later if you need exacts! Ingredients:
Method:
Notes:
0 Comments
Out of the Ord - Butternut PumpkinThis morning I felt like really taking my time with this recipe, so I put on some music, opened the windows to let the breeze in and got to it. I placed a variety of local ingredients in this pumpkin soup including chickpeas, and bush squash - I'd never cooked with bush squash before but it arrived in my Rock Solid Produce Box and I figured I'd give it a go. The chickpeas were very much a last minute addition - I try to keep some pre-soaked and precooked in the fridge so I can toss them in salads or fry them with some spices as an afternoon snack. The end result was a delicious, filling soup for lunch! Give it a go, you won't be disappointed. 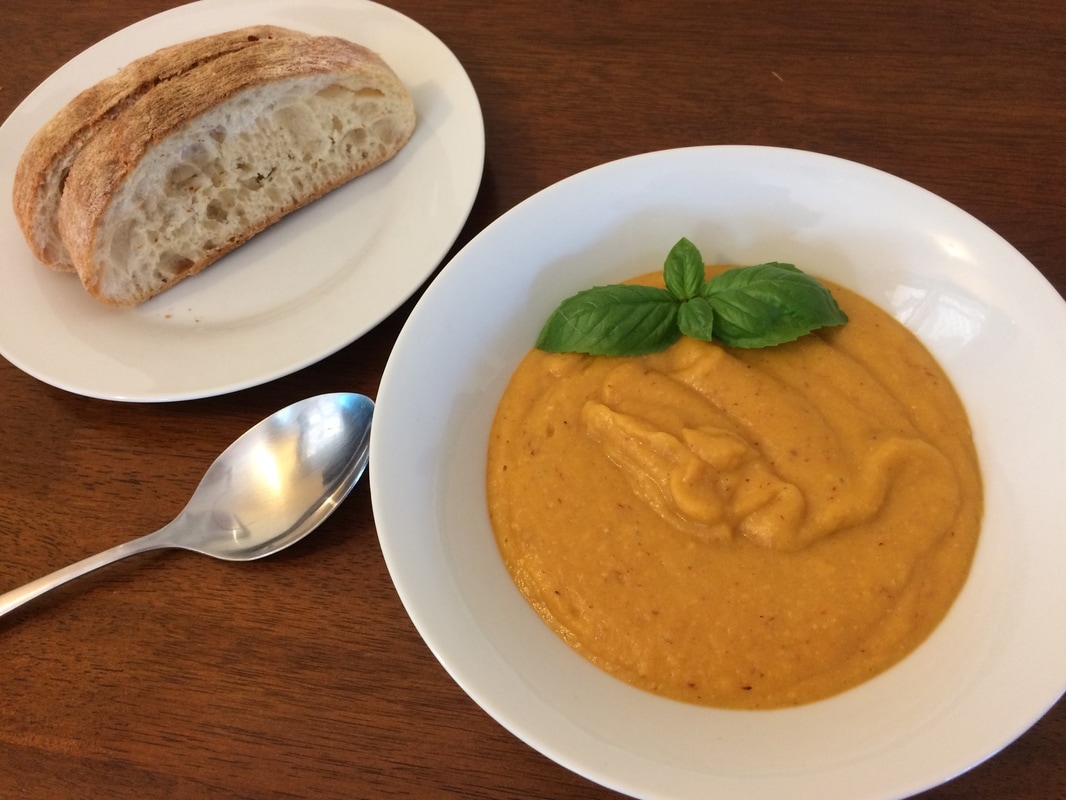
Time: About an hour Serves: 2.5 people for a main meal or 4 people for a starter Ingredients:
Method:
Notes:
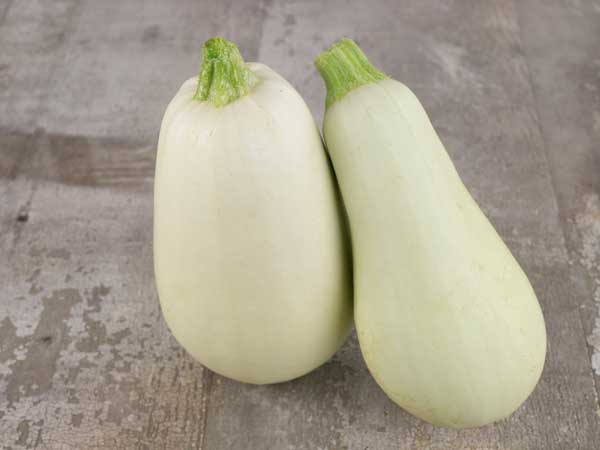
Out of the Ord - Yellow SquashI've never cooked or eaten yellow squash before, so suffice to say this week was a little bit daunting.... that said, squash is pretty much same/same as a zuchinni yeh? they're in the same family.... So i decided to bake a Yellow Squash Slice instead of a traditional Aussie Zuchinni Slice. The results were delicious!!!
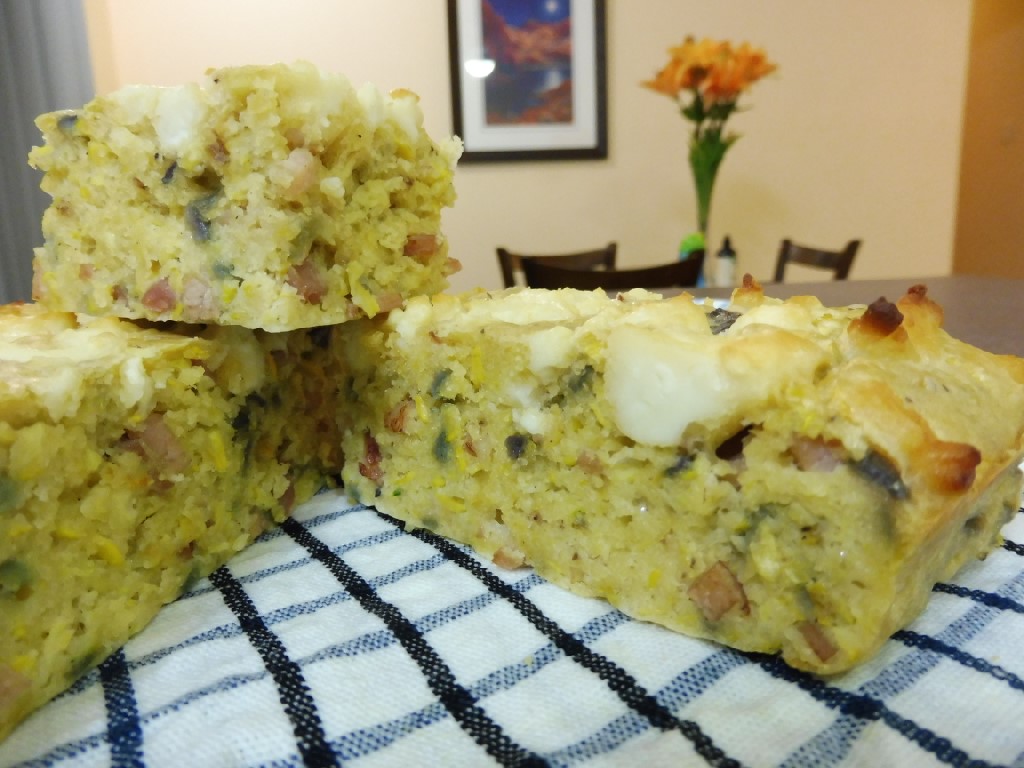
A sweet yet savory slice, perfect as a pre-prepared lunch or dinner.
Ingredients:
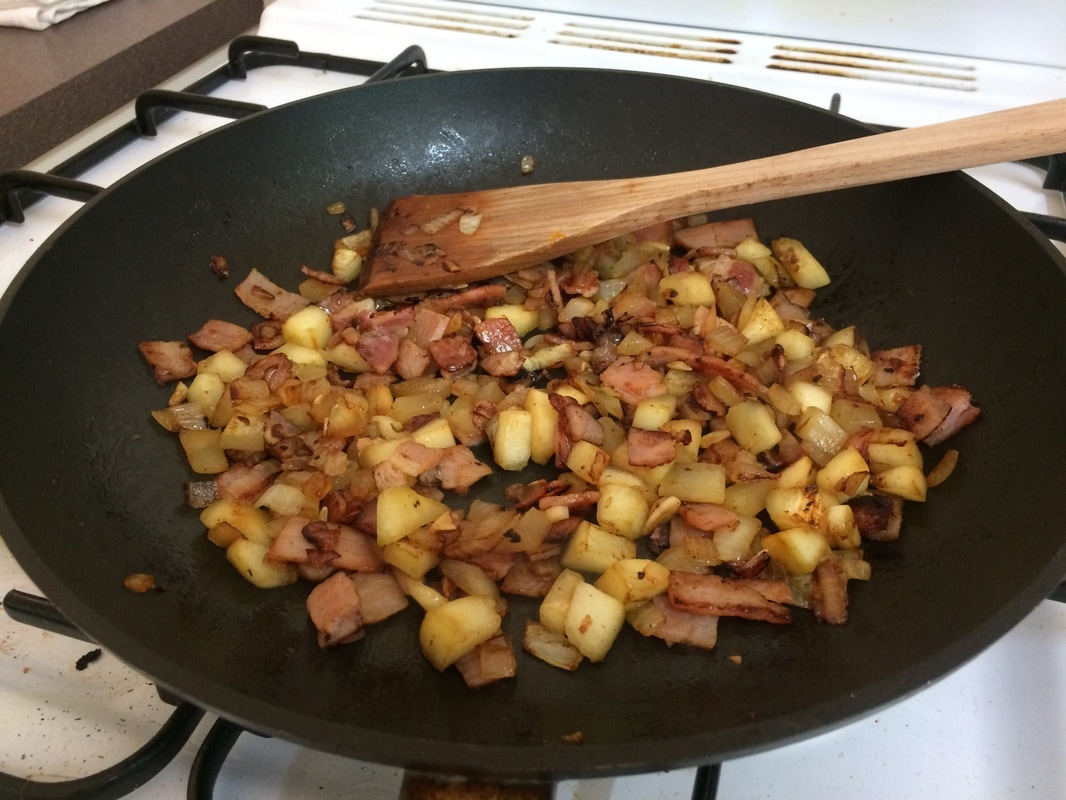
Instructions: For a BBQ or Oven baked slice
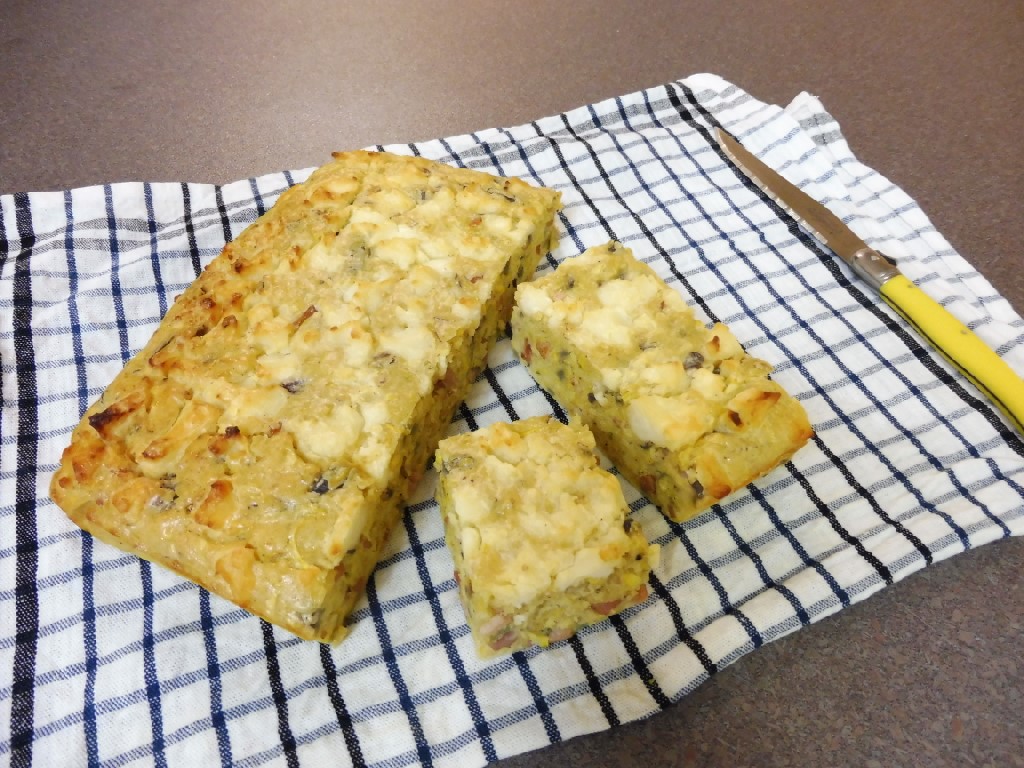
Notes: * I bought a single log slice from the deli – and it was enough for the size tray I was using (square), if using a larger tray, I would double the cheese quantity. ** I used a square plastic bendy tray, but use could use a tin lamington tray which would work well. Out of the Ord - QuinoaI adapted this muesli bar from Ambitious Kitchen's food blog using ingredients i had available in the pantry. Its great because as long as the texture of the individual ingredient is roughly the same you can substitute it. My first batch i used too much banana and they didn't set properly - so don't go overboard on the banana. There is also a link to another muesli bar I've done that doesn't need any baking at the bottom of this post. Enjoy!  Ingredients:
Notes: * I used the Pure Harvest Super Food brand of Coco2. As an alternative try almond spread or peanut butter. ** The chia honey can be substituted for regular honey, maple syrup or brown sugar depending on your preference. Wrap bars in wax paper tied with string and keep in the fridge, my bars are still fresh 2 weeks after cooking. If you're looking for another muesli bar recipes try: http://www.bbqbaker.com/blog/homemade-muesli-bars 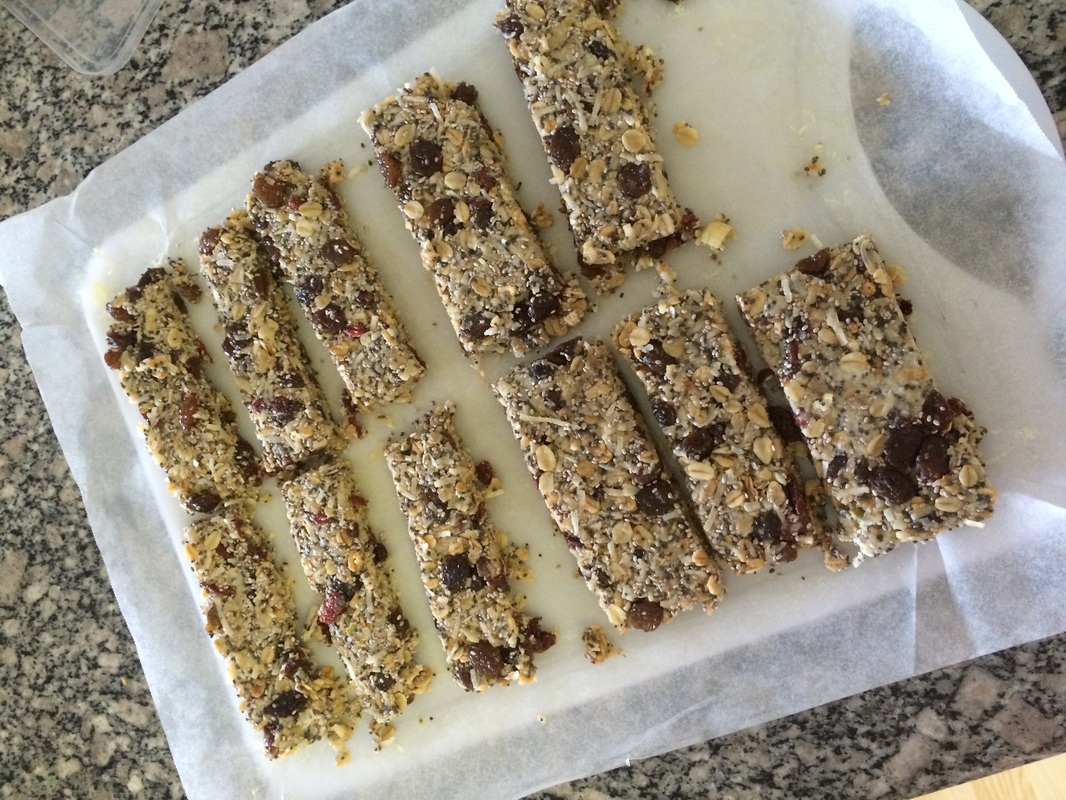 Homemade muesli bars, no BBQ'ing required. Ingredients: 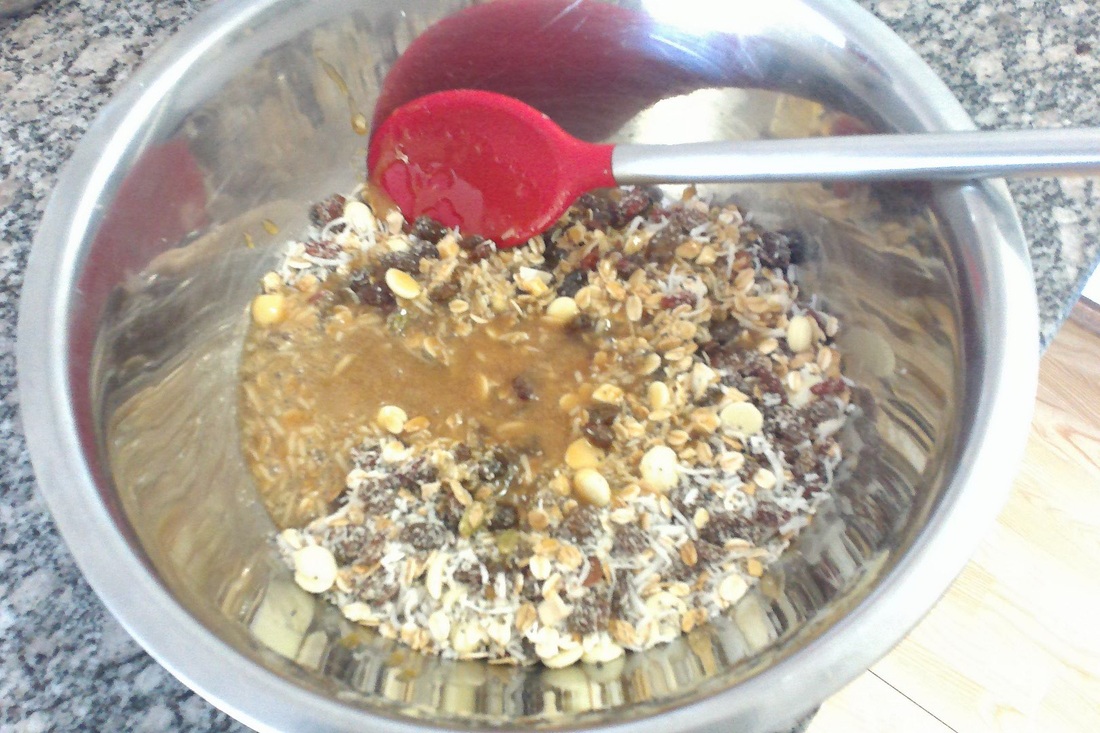 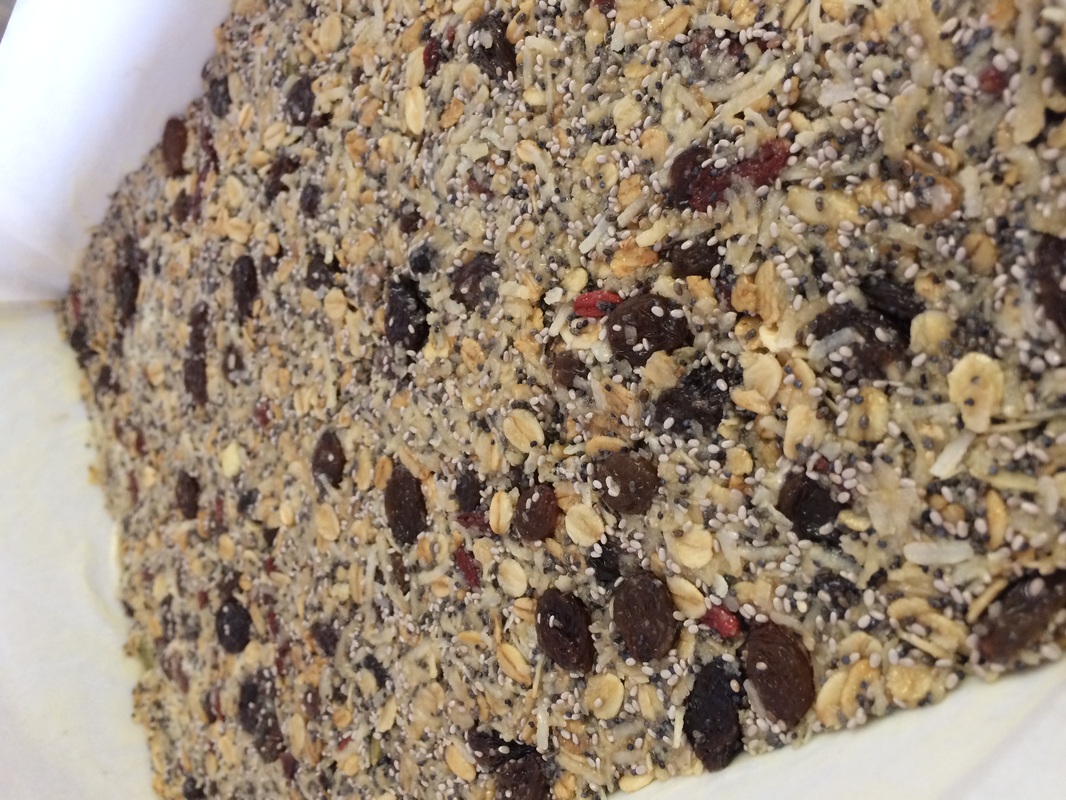 Ingredients:
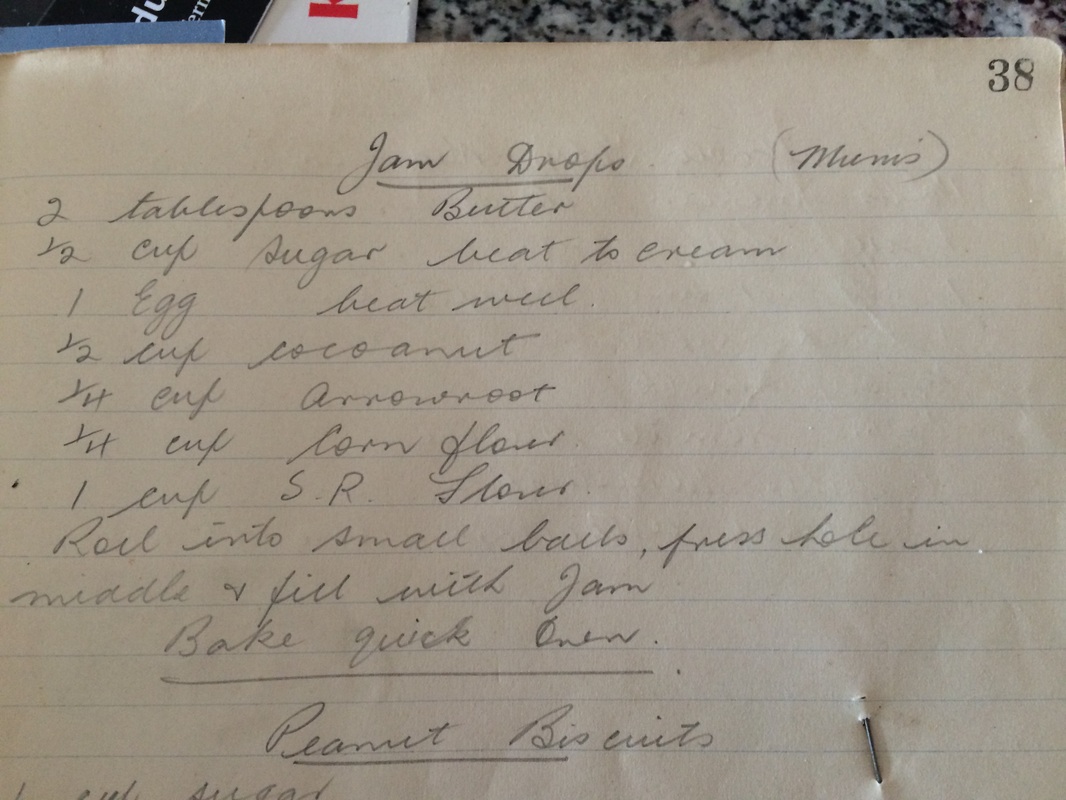
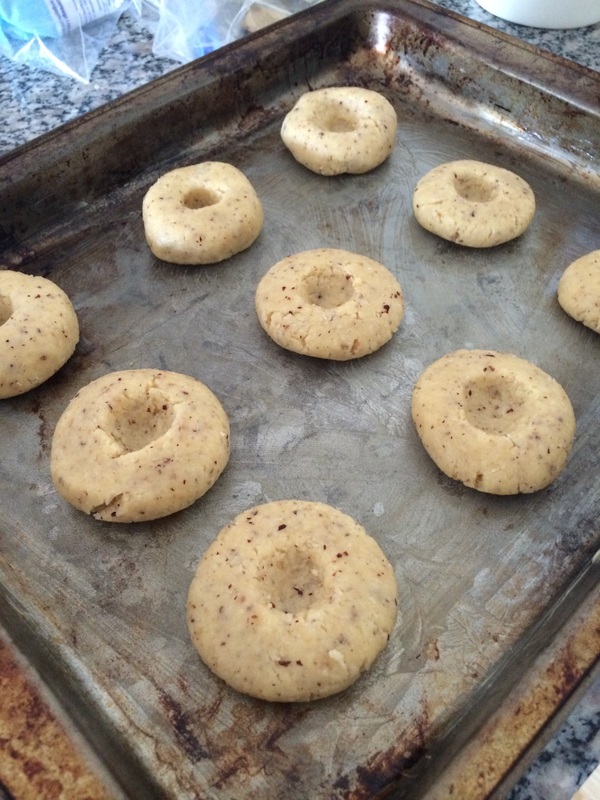
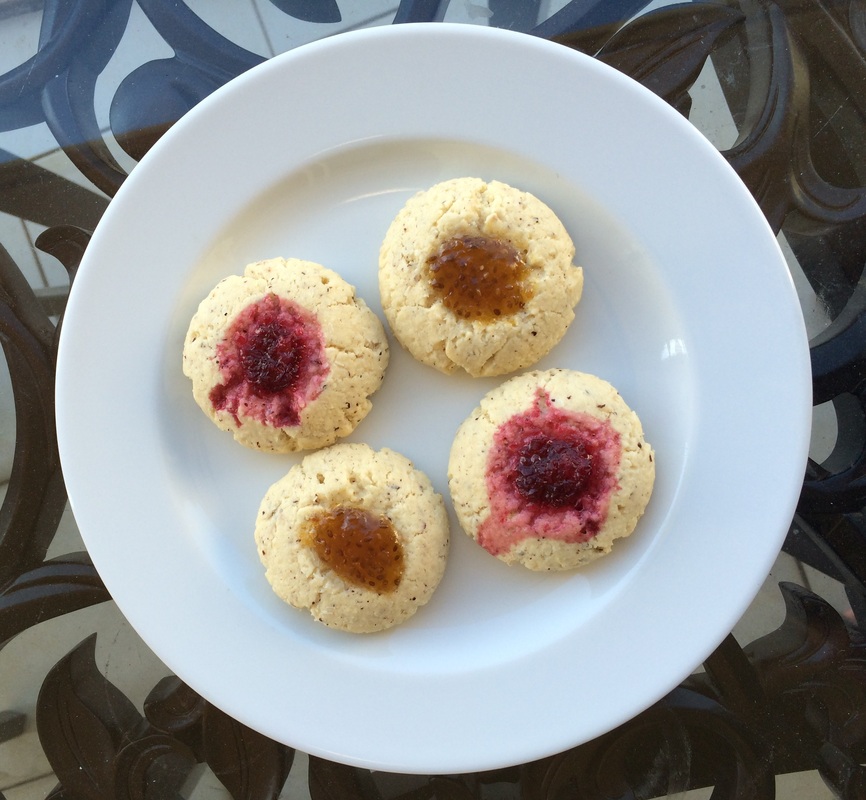
Roll the mixture into small balls, flatten slightly in the palm of your hand and then press a little hole in the top (see piccy's below) to fill with jam. Then fill with jam, I used Rosella Jam from Girraween Primary School (those little legends!) and the pictured store bought Chia Jam from the supermarket. Bake in a quick BBQ. ....This means about 10 minutes somewhere between 190-200 degrees celcuis (375-400 F). Notes for the keen BBQer: I placed these Jamnuts on the little shelf used for resting meats to cook them, becase they just seemed too delicate to place on the grill plate. Remember - whenever baking in the BBQ never, seriously.... NEVER place the tray directly above the elements that are on fire. You'll also notice I changed Grandma Beryl's original recipe to include the nuts. I have to add a disclaimer that if you are swapping ingredients like-for-like you can substitute any sort of 'meal' (i.e. almond or hazelnut) with the flour. BUT, if you swap out all the self raising flour then place a teaspoon of carb soda into the mix to counteract the loss of the 'rising ' nature of the self raising flour. Please share my recipes with your friends! xoxox - The BBQ Baker
 |
Categories
All

AuthorHi, I’m T. |
||||||||||